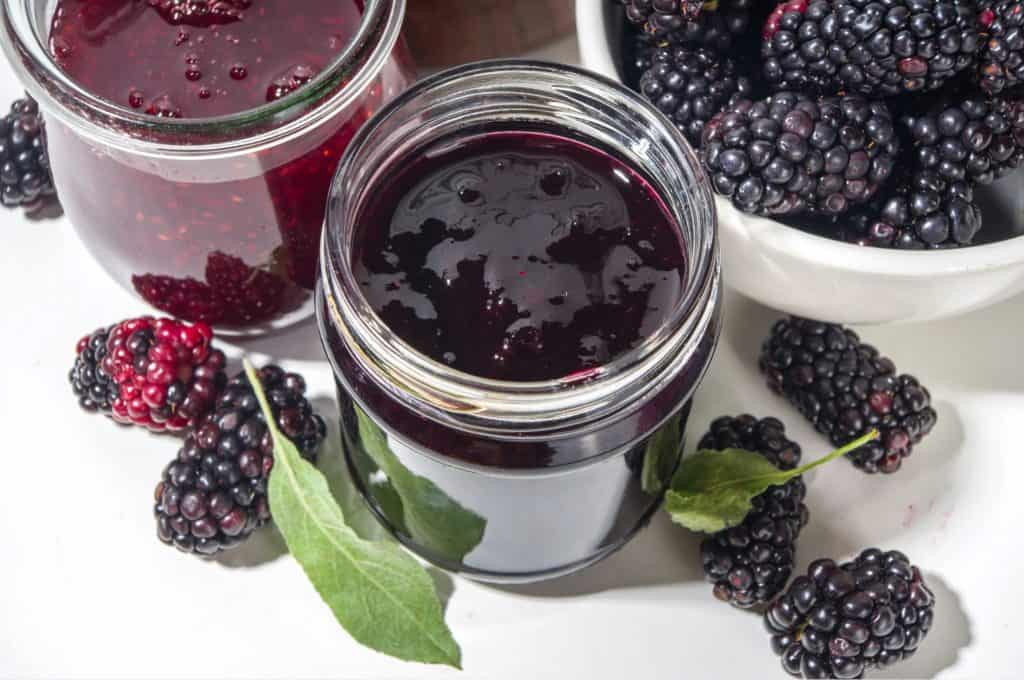
The first time I tried making blackberry jam, I managed to burn the bottom of the pan and spent the next hour scrubbing it instead of admiring my jars of jewel-toned preserve. The trouble? I let it boil too fiercely while I dashed off to check emails (rookie mistake).
When I tried again, I slowed down, paid proper attention, and it came together beautifully—thick, glossy, and bursting with that deep hedgerow flavour that reminds me of late August walks with purple-stained fingertips. If you’ve ever been tempted by the thought of capturing summer in a jar, this one’s worth learning. Let me show you how I fixed my mistakes and why this jam is much easier than it looks.
The Secret Behind This Bake
Most jam recipes fuss with added lemon juice or pectin sachets, but Mary Berry keeps it stripped back—just blackberries and sugar. And here’s the thing: blackberries are naturally high in pectin (especially if you snag some slightly underripe ones), so they set beautifully without help.
What surprised me most? Letting the jam rest for five minutes before jarring. I’d always rushed it in hot, but that pause helps the fruit distribute evenly so you don’t end up with floating berries at the top of your jar.
Ingredients + Why They Matter
- Blackberries (900g / 2 lbs) – Fresh or frozen both work. I once skipped thawing frozen ones first, and it threw off the cooking time and texture. Thaw and drain if using frozen.
- Granulated Sugar (900g / 4½ cups) – Equal weight to fruit. I tested with caster sugar, but it dissolved too quickly and gave me a grainy finish once. Stick to standard granulated.
Want to Change It Up? Here’s How
- Blackberry + Apple Jam – A Bramley or two boosts natural pectin and adds balance.
- Blackberry + Lemon – A squeeze of lemon juice gives a fresher, brighter edge.
- Seedless Jam – Push cooked fruit through a sieve before adding sugar (messy, but worth it if you hate pips).
- Spiced Blackberry Jam – A pinch of cinnamon or star anise while boiling gives it a cosy, autumnal feel.
Mistakes I’ve Made (And How to Avoid Them)
| What Went Wrong | Why It Happens | How to Fix It |
|---|---|---|
| Jam burned on the bottom | Heat was too high, no stirring | Keep to medium heat until sugar fully dissolves |
| Jam stayed runny | Took it off the heat too early | Always do the chilled plate test or use a thermometer |
| Fruit floated on top of jars | I jarred too quickly | Let the jam rest 5 minutes before filling jars |
How to Make Mary Berry’s Blackberry Jam
- Sterilise jars – Wash in hot, soapy water, rinse, then pop in a 120°C (250°F) oven for 10–15 mins. Leave them warm.
- Cook the fruit – Tip blackberries into a heavy pan. Gently heat for 5–10 mins until softened and juicy.
- Note: if juice is pooling fast, you’ve probably got very ripe fruit—don’t panic, just carry on.
- Add sugar – Stir it in over medium heat until every grain dissolves. No boiling yet!
- Bring to the boil – Turn up the heat and let it reach a rolling boil. Cook 10–12 mins until 105°C (220°F), or until a spoonful wrinkles on a chilled plate.
- My second test batch boiled 5 mins too long—set like glue. Don’t walk away here.
- Rest and jar – Take off the heat, skim any foam, let sit for 5 mins, then ladle into warm jars. Seal and cool.
Tips From My Kitchen
- I always keep two plates in the freezer for the set test—because I inevitably forget one.
- If you spot white scum forming on top, don’t panic—it’s just air bubbles. A knob of butter stirred in at the end helps clear it.
- I label jars with painter’s tape before writing on fancy stickers—because I’ve mislabelled more than once.

Storage + Serving
- Shelf life – Up to 12 months unopened in a cool, dark cupboard.
- After opening – Refrigerate and use within 4–6 weeks.
- Freezing – Jam freezes surprisingly well if you’ve got overflow—just leave headspace in the container.
- Best with – Hot buttered toast, cream scones, or swirled through yogurt. My personal favourite? A dollop on porridge with toasted almonds.
FAQ
- Q: Is lemon juice necessary in blackberry jam?
A: No, lemon juice isn’t strictly necessary — blackberries already contain natural acidity and pectin. But adding a little lemon juice helps brighten the flavour, especially if the berries are very sweet, and gives a tiny extra pectin boost that can help with setting in marginal batches. - Q: Can I reduce the sugar without ruining the set?
A: Yes, you can, but there are trade-offs. Less sugar means a looser set, more chance of runniness, and possibly shorter shelf life. If you try a lower sugar version, cook a bit longer, test carefully with the chilled plate method, and expect a softer set. Also, always sterilise jars well and refrigerate after opening. - Q: What’s the difference between blackberry jam and blackberry jelly?
A: Jam contains the whole crushed fruit (so bits of pulp and sometimes seeds), giving it body and texture. Jelly is made using just the juice — more translucent, smoother, no fruit bits. If you want jelly, strain out pulp/skin; for jam, keep them in. - Q: How can I make seedless blackberry jam?
A: Cook the berries, then press the mixture through a fine sieve or food mill to remove seeds before adding sugar (or before the final boiling). It takes a little patience, but it results in a jam that’s smooth and seed-free. - Q: Can I use frozen blackberries, and do I need to thaw them first?
A: Yes, frozen blackberries work well. It’s best to thaw them first and drain off excess liquid, to avoid the jam becoming too watery. If you use them straight frozen, expect a slightly longer cooking time and maybe more foaming. - Q: Why isn’t my jam setting even after boiling?
A: Common reasons include: not boiled long enough; fruit too ripe (less natural pectin); too much liquid; sugar/sugar ratio off. Use the chilled plate test: if jam wrinkles when pushed after cooling a spot on a plate, it’s ready. Also check your thermometer if using one — sometimes readings are off. - Q: How long does homemade blackberry jam last?
A: Unopened and stored in a cool, dark place, it can last ~12 months. Once opened, keep refrigerated and use within about 4-6 weeks. For best flavour and colour, use sooner rather than later. - Q: How do I sterilise jars properly for safe preserving?
A: Wash in hot soapy water, rinse well. Then dry and warm them — e.g. in an oven at ~120°C (250°F) for 10-15 minutes. Also keep lids hot (not boiling, but warmed) so jars seal properly when filled with hot jam. - Q: Can I double or scale up this jam recipe?
A: Yes, but carefully. Larger batches require a bigger pan and more stirring; heat distribution can be uneven. Doubling is usually safe; make very large batches more gradually to avoid scorching and to ensure even setting. - Q: Why does foam form on top when I boil the jam?
A: Foam is normal — fruit flesh, air bubbles, pectins reacting. Skim off the foam just before jarring. Some people add a tiny bit of butter (½ tsp) at the end to reduce foaming, but that’s optional. The foam doesn’t spoil the jam; it’s just about appearance.
Similar Recipes:
Mary Berry Blackberry Jam Recipe – Rich, Tangy, and Foolproof
Course: JamCuisine: British3-4 jars
servings10
minutes25
minutes100
kcalIngredients
900g (2 lbs) blackberries (fresh or frozen, thawed and drained)
900g (4½ cups) granulated sugar
Directions
- Sterilise jars in a 120°C (250°F) oven for 10–15 mins.
- Heat blackberries gently in a large pan for 5–10 mins until softened.
- Stir in sugar over medium heat until dissolved.
- Bring to a rapid boil for 10–12 mins, or until 105°C (220°F) / plate test wrinkles.
- Remove from heat, skim foam, rest 5 mins, then ladle into jars. Seal and cool.

