I first tried making these mini dauphinoise potatoes for a Sunday roast when my big roasting dish mysteriously vanished (long story involving a lasagne, a neighbour, and poor memory). With only individual pudding moulds left, I had no choice but to go mini—and honestly, I might never go back.
But here’s the truth: my first batch was a hot mess. I didn’t soak the potatoes, didn’t grease the moulds properly, and ended up with cheesy glue bombs stuck like cement. Let me show you how I fixed that—and how these turned into the dreamiest little stacks of creamy, golden-edged joy.
What Makes This Recipe Special
This one’s clever for a few reasons:
- The portion control is sneaky genius. Everyone gets their own perfectly crisp-topped tower—no fighting over corners.
- The double cream and garlic combo? Just the right level of indulgent without going greasy. I was surprised by how well the garlic mellowed during baking.
- And that hidden base layer of cheese? Game-changer. It caramelises and adds a savoury pop right at the bottom.
Most dauphinoise recipes go big and sloppy. This one’s neat, bold-flavoured, and surprisingly easy to pull off once you get the hang of the layering.
INGREDIENTS + WHY THEY MATTER
- Mature Cheddar (115g) – Sharp and tangy. I tested mild cheese first—too bland. Aged cheddar brings depth and golden crunch.
- Double Cream (300ml) – No milk here. Full-fat cream gives the luscious texture we’re after. Anything lighter just split on me.
- Garlic (1 clove) – Just enough to perfume the whole thing without overpowering it.
- Butter (30g, melted) – Greasing the moulds with this helps them release like a dream.
- Medium Potatoes (700g) – Waxy varieties like Charlotte or Maris Peer hold their shape best. I tried floury ones—they turned to mush.
Making It Yours (Without Ruining It)
- Cheese swap: Gruyère adds a nutty richness. Parmesan gives a salty hit on top. I sometimes do a half-and-half cheddar/Gruyère mix.
- Dairy-free: Oatly Creamy Oat works okay texture-wise but misses that buttery richness. Still decent with a DF cheese like Violife.
- No metal moulds? Use a muffin tin (well-buttered) or ramekins. Just don’t skip the baking paper base or they’ll cling for dear life.
- Herb twist: A pinch of thyme or rosemary in the cream is lovely—but go light or it overpowers.
MISTAKES I’VE MADE (AND HOW TO AVOID THEM)
| What Went Wrong | Why It Happens | How to Fix It |
|---|---|---|
| Potatoes stuck to the mould | Skipped the baking paper base | Always butter + line the base with parchment |
| Mushy texture | Used floury potatoes like King Edward | Stick to waxy types like Charlotte |
| Too bland | Forgot to season each layer | Salt and pepper between every layer |
| Greasy pools on top | Overdid the cream | Stick to 300ml—don’t be tempted to add more |
HOW TO MAKE MARY BERRY’S MINI DAUPHINOISE POTATOES
- Prep oven + moulds: Preheat to 200°C (180°C Fan). Grease 8 metal dariole moulds with melted butter. Place a square of baking paper in each base.
- Mix the cream: Stir grated garlic into cream. Season generously with salt and pepper.
- Start layering: Sprinkle a bit of cheese into the base of each mould. Add a layer of potatoes. Drizzle over cream. Repeat layers—potato, cream, seasoning—until full.
- Bake covered: Cover moulds tightly with foil. Bake on a tray for 30 minutes.
- Uncover + cheese it: Remove foil. Add remaining cheese to tops. Bake another 15–20 minutes until golden.
- Let rest + serve: Cool in moulds for 5–10 mins. Run a small knife around the edge, flip onto plates, peel off paper. Serve hot.

TIPS FROM MY KITCHEN
- I always soak the potato slices in cold water for 20 mins, then pat them dry. Makes a massive difference in texture.
- Use a mandoline if you’ve got one—my first go slicing by hand was uneven and patchy in doneness.
- I pop mine under the grill for a final 2 mins if the tops aren’t golden enough.
- If you’re using ramekins, place a weight (like a smaller tin) on top for the first 10 mins to compress the layers.
STORAGE + SERVING
- Fridge: Store in an airtight container for up to 2 days.
- Freeze: Wrap individually and freeze for up to 2 months. Defrost in fridge overnight.
- Reheat: Oven at 180°C, covered with foil, for 5–10 mins. Crisp under grill if needed.
- Serve with: Roast meats, seared greens, or a dollop of Dijon crème fraîche.
FAQs – Real Query Answers
Q: Can I make these ahead of time?
A: Yes! Bake, cool, then chill in the fridge. Reheat gently in the oven. They hold their shape beautifully once set.
Q: What’s the best potato for dauphinoise?
A: Waxy potatoes like Charlotte, Desiree, or Maris Peer. Avoid floury ones—they fall apart.
Q: Can I make this in a big dish instead?
A: You can—but reduce the cream slightly or it may get soggy. Baking time will be closer to 1 hour total.
Q: My tops aren’t browning—help?
A: Hit them with the grill for 2–3 minutes at the end. Works a treat.
Q: Do I have to peel the potatoes?
A: Technically no, but the skin can make the layers tough and less elegant. I always peel.
Try More Recipes:
- Mary Berry Garlic Roasted Potatoes with Rosemary
- Mary Berry Cauliflower Potato Cakes Recipe
- Mary Berry Avocado, Beetroot and Prawn Stack
- Mary Berry Chilli and Coriander Chicken Recipe
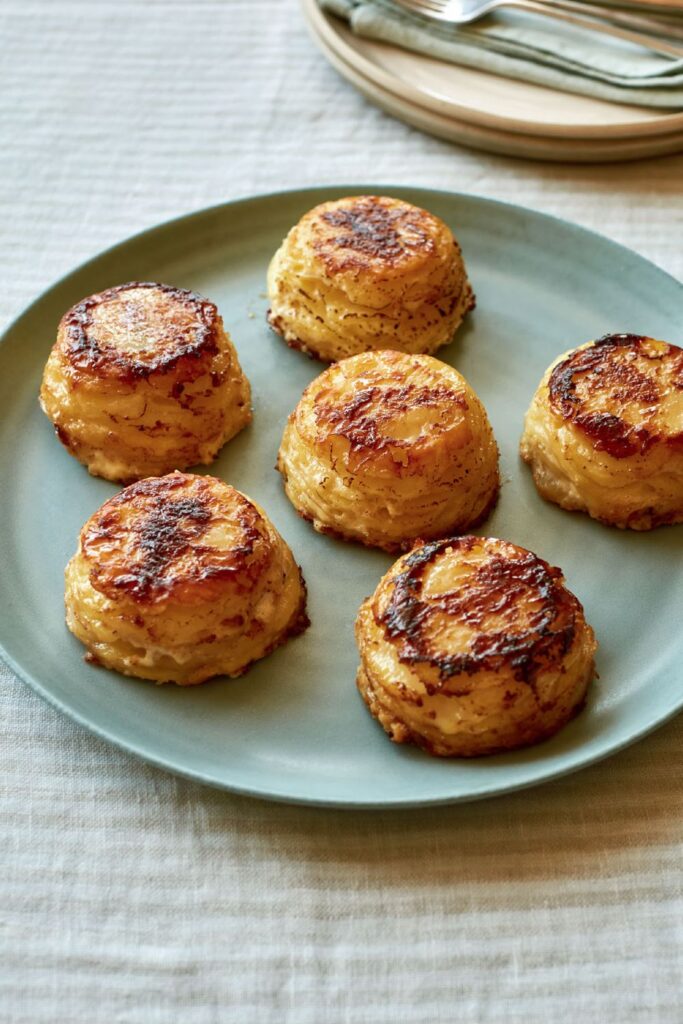
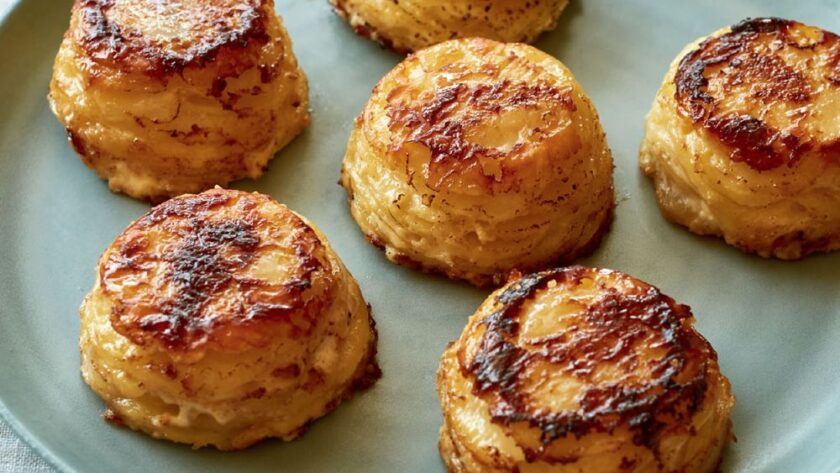
Mary Berry Mini Dauphinoise Potatoes
Course: Side DishesCuisine: BritishDifficulty: Easy8
servings10
minutes50
minutes269
kcalCreamy, cheesy mini dauphinoise potatoes with golden tops—perfect individual sides for roasts, dinner parties, or cozy nights in.
Ingredients
30g butter, melted
300ml double cream
1 garlic clove, finely grated
700g medium waxy potatoes, peeled + thinly sliced
115g mature Cheddar, grated
Salt + pepper
Directions
- Preheat oven to 200°C (180°C Fan). Butter 8 dariole moulds, line bases with baking paper.
- Mix cream, garlic, salt + pepper.
- Layer cheese, potato, cream in moulds. Repeat until full.
- Cover tightly with foil, bake 30 mins.
- Uncover, top with cheese, bake 15–20 mins.
- Cool for 5 mins. Invert and serve hot.
Notes
- I always soak the potato slices in cold water for 20 mins, then pat them dry. Makes a massive difference in texture.
- Use a mandoline if you’ve got one—my first go slicing by hand was uneven and patchy in doneness.
- I pop mine under the grill for a final 2 mins if the tops aren’t golden enough.
- If you’re using ramekins, place a weight (like a smaller tin) on top for the first 10 mins to compress the layers.