To be honest, I made these on a bit of a whim—mainly because I had leftover mash and a half-open pack of panko that kept giving me the side-eye every time I opened the cupboard. I didn’t expect much. But what I ended up with? Golden, crisp-edged little miracles.
The first time, I rushed it—mashed the potatoes while they were still wet and didn’t let them cool properly. The result? Pancake-flop territory. But once I figured out a couple of tricks (like drying the potatoes off in the pan after boiling), they came out perfectly crisp on the outside, dreamy and fluffy inside.
So if you’re craving something savoury, comforting, and just a little bit addictive—let me show you how I fixed that.
Why This One Works So Well
Most potato cake recipes either fall apart or turn gummy—but this one nails the balance. The key? Three things:
- Dry potatoes – steaming off excess water after boiling makes all the difference. Wet mash = sad cakes.
- Cool before shaping – I didn’t think this mattered, but it really does. Warm mash is too soft to hold shape.
- Panko breadcrumbs – These are the golden-crisp armour. Regular breadcrumbs just don’t bring the crunch.
The texture contrast is what makes these such a hit. Honestly, they taste like the best part of roasties got flattened into a snackable patty.
INGREDIENTS + WHY THEY MATTER
- Désirée / King Edward / Maris Piper Potatoes – These starchy types mash up fluffy. I once tried waxy ones, and the cakes turned weirdly chewy.
- Butter – Adds richness and helps bind the mash. Don’t skip it.
- Panko Breadcrumbs – For a crisp, golden crust. Regular breadcrumbs can go soggy.
- Olive Oil – Helps with frying and adds a hint of flavour. Neutral oils work too, but I missed the taste when I swapped it.
- Salt + Pepper – Essential. Underseasoned mash is a crime.
Making It Yours (Without Ruining It)
- Gluten-Free – Use GF panko (they exist and work fine). I tested with Schär brand and no complaints.
- Dairy-Free – Swap butter for olive oil or a plant-based spread. I’ve tried it with Flora—it held up nicely.
- Add-Ins That Work:
- Grated cheddar or parmesan (adds flavour, but go light or they’ll fall apart)
- Chives or spring onions (stir into the mash—lovely fresh kick)
- Smoked paprika in the breadcrumbs (adds colour and warmth)
Avoid chunky mix-ins like ham or peas—they mess with the texture unless chopped very finely.
MISTAKES I’VE MADE (AND HOW TO AVOID THEM)
| What Went Wrong | Why It Happens | How to Fix It |
|---|---|---|
| Cakes fell apart | Mash was too warm and soft | Let the mash cool before shaping |
| Soggy crust | Used regular breadcrumbs | Stick with panko for crispness |
| Mushy inside | Overcooked the potatoes / didn’t dry them | Steam off water in the pan after draining |
| Burnt outside, raw inside | Pan was too hot | Medium-high heat is safer—watch the timing |
HOW TO MAKE MARY BERRY’S POTATO CAKES
- Boil the Potatoes: Peel and chop into chunks. Simmer in salted water for 15 minutes, or until just tender.
- Steam Dry the Potatoes: Drain and return to the hot pan. Let them sit for 2–3 minutes with the lid off to steam off extra moisture.
- Mash with Butter: Mash until smooth, season well. Taste it now—this is your only chance to get the seasoning right.
- Cool the Mash: Let it cool slightly (10–15 minutes). Warm mash is a pain to work with.
- Shape the Cakes: Divide into 4, roll into balls, then flatten into patties.
- Breadcrumb Coating: Press each side into panko breadcrumbs until fully coated.
- Fry Until Golden: Heat olive oil in a frying pan over medium-high. Fry each cake for about 2 minutes per side until golden and piping hot.

TIPS FROM MY KITCHEN
- I shape the cakes on a cold plate and chill them for 10 minutes before frying—helps them hold together.
- If your mash is very soft, add a teaspoon of flour to firm it up.
- My non-stick pan browns better than the cast iron for this—less risk of sticking.
- A gentle press with the spatula while frying gives them better contact and crispier surface.
STORAGE + SERVING
- Store: Fridge for up to 3 days, in an airtight box. Let them cool fully before boxing up.
- Freeze: Freeze uncooked cakes on a tray, then bag them. Cook from frozen or thaw in fridge overnight.
- Reheat: Best on the stove—medium heat, bit of oil, 2–3 minutes per side.
Pair with: Poached egg and spinach, or just a blob of sour cream and a spoonful of chutney. Total brunch vibes.
FREQUENTLY ASKED QUESTIONS
Q: Can I use leftover mashed potatoes?
A: Yes, but only if they’re firm. Add a little flour if they’re too soft, and re-season.
Q: Can I bake instead of fry?
A: You can, but they don’t crisp up quite the same. Bake at 200°C (fan) for 20 minutes, flip halfway, spray with oil.
Q: Can I make them in advance?
A: Yes. Shape and breadcrumb them, then store chilled for up to 24 hours before frying.
Q: Do I need egg to bind them?
A: Surprisingly, no. The cooled mash holds together beautifully without it—just don’t skip the chilling step.
More Mary Berry Recipe:
- Mary Berry Lemon Sole With Fennel Slaw
- Mary Berry Canon Of Lamb With Mint Gravy
- Mary Berry Roasted Pepper and Ricotta Rolls
- Mary Berry Potato Wedges
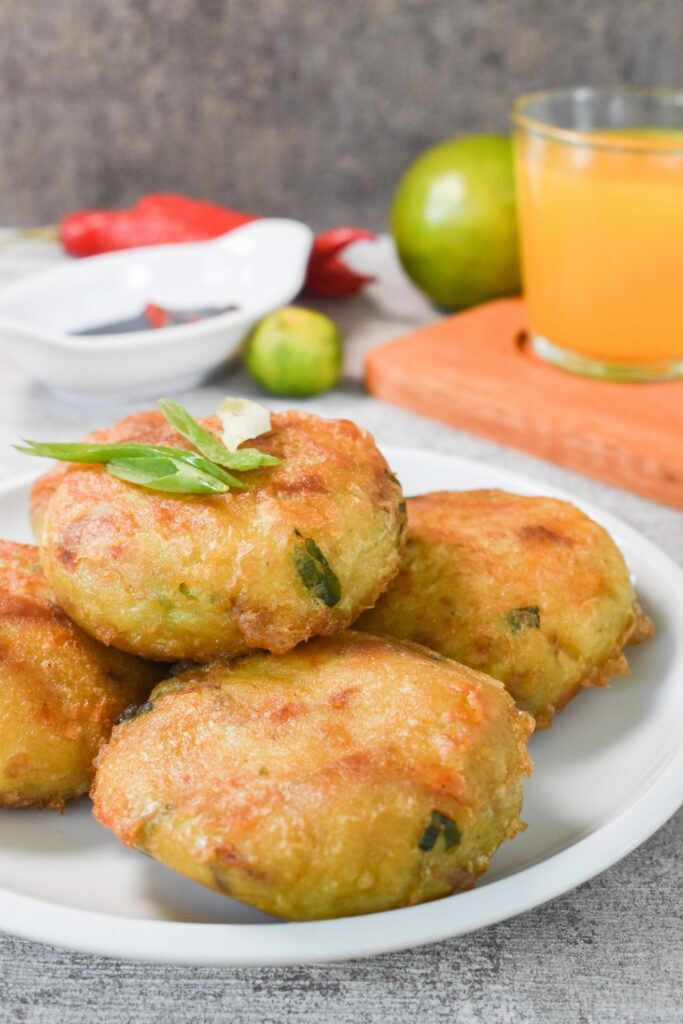
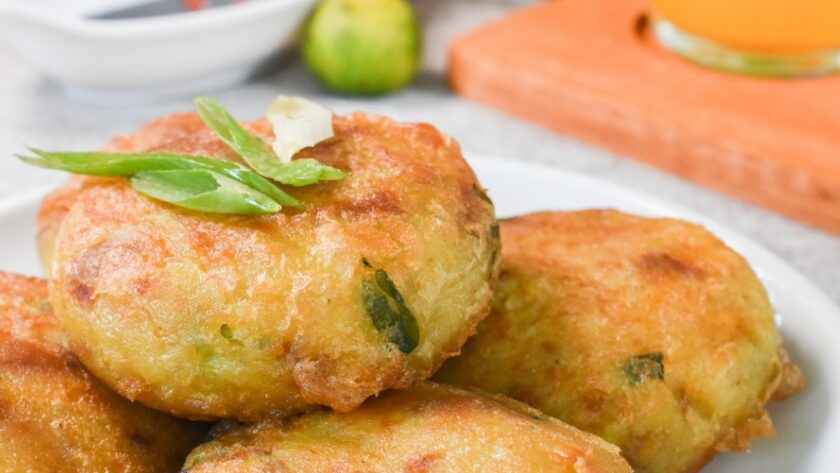
Mary Berry Potato Cakes
Course: Side DishesCuisine: BritishDifficulty: Easy4
servings10
minutes8
minutes180
kcalCrispy on the outside, soft inside—these easy potato cakes are the perfect way to use up leftover mash.
Ingredients
500g (1lb 2oz) potatoes (Désirée, King Edward, or Maris Piper), peeled and chopped into 4cm (1½in) chunks
25g (1oz) butter
25g (1oz) panko breadcrumbs
2–3 tbsp olive oil
Salt and pepper to taste
Directions
- Boil potatoes in salted water for 15 minutes, until just tender.
- Drain and return to hot pan. Steam dry for 2–3 minutes.
- Mash with butter, season well.
- Cool mash for 10–15 minutes.
- Divide into 4 portions, roll into balls, flatten into cakes.
- Coat both sides in panko breadcrumbs.
- Heat oil in frying pan on medium-high.
- Fry each cake for 2–3 minutes per side until golden and hot.
Notes
- I shape the cakes on a cold plate and chill them for 10 minutes before frying—helps them hold together.
- If your mash is very soft, add a teaspoon of flour to firm it up.
- My non-stick pan browns better than the cast iron for this—less risk of sticking.
- A gentle press with the spatula while frying gives them better contact and crispier surface.