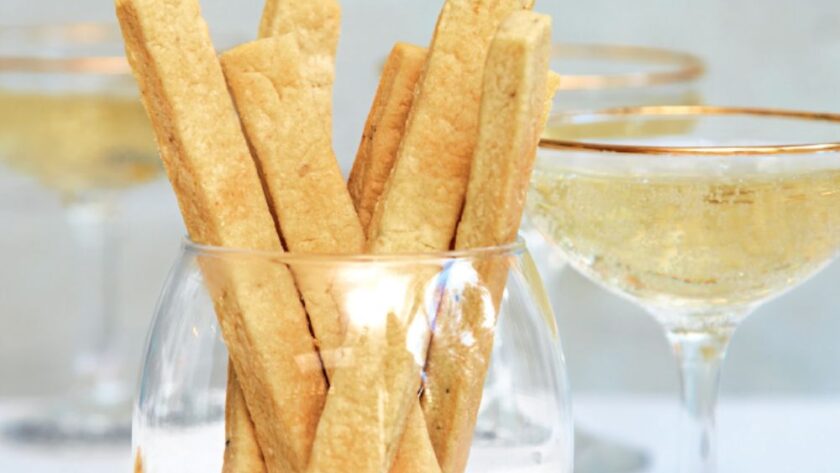
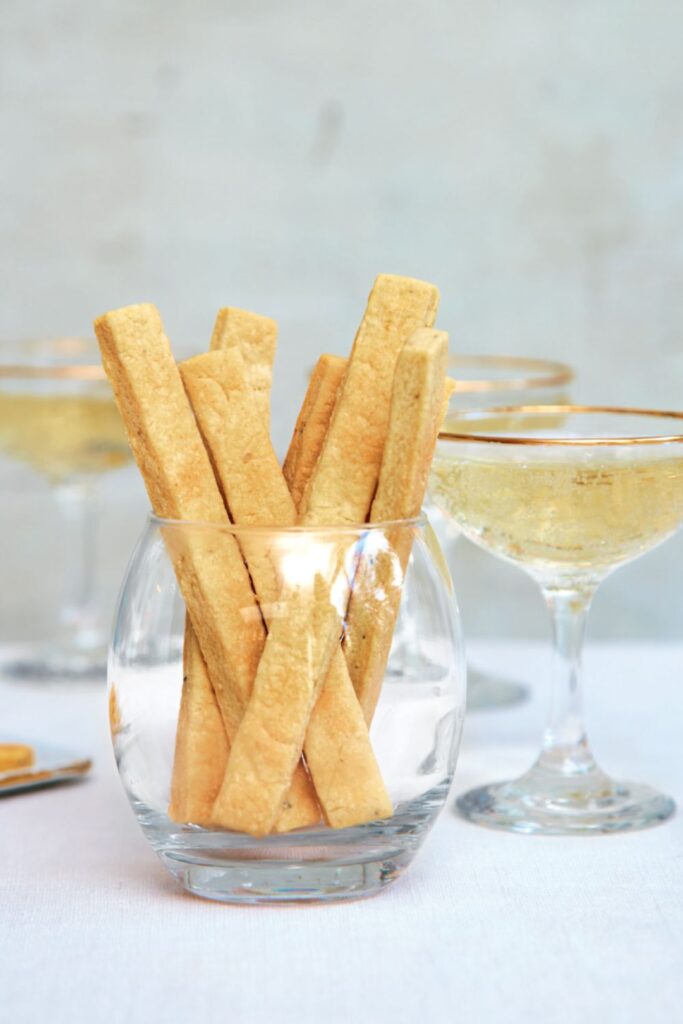
I made these cheese straws on a wet Tuesday when I was absolutely not in the mood to cook—but had a block of Cheddar glaring at me every time I opened the fridge. You know the kind of day.
I thought, “Quick bake, no fuss,” and went for Mary Berry’s cheese straws from Fast Cakes. Honestly, I nearly binned the first batch. Rolled the dough too thin, forgot to chill it, and ended up with cheese-flavoured crackers that could slice your gums. But once I got it right? Ohhh, they were golden, flaky perfection with that cheeky mustard kick.
If you’ve ever had greasy, flat, or tough cheese straws, let me show you how to dodge those pitfalls—and bake a batch that actually snaps when you bite into it.
Why This One Works So Well
Mary’s recipe nails the texture: short and flaky, not bendy or dense. The trick? Cold butter and just the right amount of egg to bind—not bathe—the dough.
The dry mustard powder is the unsung hero here. It doesn’t scream “mustard,” but it quietly boosts the cheese flavour. I tested a batch without it and, honestly, they tasted flat—like something from a sad wedding buffet.
And if you’re thinking, “Why self-raising flour?”—it gives just a touch of lift so they don’t feel stodgy.
INGREDIENTS + WHY THEY MATTER
- Self-Raising Flour (200g) – Gives a tiny bit of puff and prevents dense sticks. Plain flour made them weirdly heavy.
- Dry Mustard Powder (1 tsp) – Boosts the cheese flavour. Subtle but mighty.
- Salt + Black Pepper – Pepper adds a tiny kick; don’t skip it.
- Cold Butter (114g) – Needs to be fridge-cold for that crumbly, short texture.
- Mature Cheddar (125g) – The sharper the better. I once used mild and deeply regretted it.
- A Little Beaten Egg – Just enough to bring the dough together. Too much = gluey mess.
Ingredient Swaps That Hold Up
- Want it egg-free? Add a tablespoon of milk or cream instead of egg—just enough to bind.
- Gluten-free? Use a good self-raising GF flour blend and add ¼ tsp xanthan gum. I tested this—worked surprisingly well!
- Fancy a twist? Add a pinch of smoked paprika or swap half the Cheddar for Red Leicester for a golden hue.
MISTAKES I’VE MADE (AND HOW TO AVOID THEM)
| What Went Wrong | Why It Happens | How to Fix It |
|---|---|---|
| Came out tough | Overworked the dough | Mix just until it comes together |
| Spread out and stuck | Dough too soft, not chilled | Chill it for at least 15 minutes |
| Bland flavour | Used mild cheese + no mustard | Always go for mature cheese and use mustard |
| Burned bottoms | Oven too hot or overbaked | Watch them after 8 mins—edges should just colour |
HOW TO MAKE MARY BERRY’S CHEESE STRAWS
- Preheat oven to 200°C (180°C fan) / 400°F. Grease 2–3 baking trays.
- Mix dry ingredients: In a bowl, combine flour, mustard, salt, and a generous grind of pepper.
- Rub in butter until mixture resembles fine crumbs—no large lumps left.
- Stir in cheese, then add a little beaten egg until a firm dough forms. If it’s crumbly, add a touch more.
- Knead lightly on a floured surface until smooth—just a few turns.
- Chill the dough in the fridge for 15–20 minutes.
- Roll out to about 6mm (¼ inch) thick. Slice into strips—I like mine pencil-thin.
- Bake for 10–12 minutes until the edges just turn golden.
- Cool on tray for a few mins, then transfer to wire rack.

TIPS FROM MY KITCHEN
- I use a fluted pastry cutter—it gives them that charming, bakery look.
- If the dough gets warm and sticky, pop it back in the fridge for 5 mins.
- Grate the cheese finely—it blends better and makes for smoother dough.
- A quick egg wash before baking adds shine (optional but lovely).
STORAGE + SERVING
- Keeps: 3–4 days in an airtight tin at room temp. They lose crunch after that.
- Freezes: Freeze raw dough in a log, then slice and bake from chilled. Or freeze baked ones and re-crisp in the oven.
- Serve with: Tomato soup, chutney, or just a strong cuppa.
FAQs – Real Answers to Real Questions
Q: Can I make these ahead of time?
A: Absolutely. I often prep the dough, wrap it up, and leave it in the fridge overnight. Just slice and bake when ready.
Q: What cheese is best for straws?
A: Mature Cheddar is king. I tried Gruyère once—tasty but softer and less snappy.
Q: Why are my cheese straws chewy?
A: Either the butter was too warm or you overmixed. They should be crumbly, not bendy.
Q: Can I make them in a food processor?
A: Yes! Just pulse until the dough just comes together—don’t let it go too far or it’ll turn into paste.
Q: Do I have to chill the dough?
A: Technically no, but if you skip it, expect them to spread more and lose that lovely shape.
Try More Recipes:
- Mary Berry Puff Pastry Cheese Straws
- Mary Berry Ham Hock Terrine
- Mary Berry Spicy Crab Cakes
- Mini Chicken Satays Skewers
Mary Berry Cheese Straws
Course: Appetizers, SnacksCuisine: BritishDifficulty: Easy6
servings15
minutes10
minutes39
kcalCrispy, cheesy, and quick to make—these classic cheese straws are the perfect savoury snack for any occasion.
Ingredients
200g (1¼ cups) self-raising flour
1 tsp dry mustard powder
¼ tsp salt
Black pepper, to taste
114g (½ cup) cold butter, cubed
125g (4½ oz) mature Cheddar, grated
1 egg, lightly beaten (you won’t need all of it)
Directions
- Preheat oven to 200°C (180°C fan). Grease baking trays.
- Mix flour, mustard, salt, and pepper in a bowl.
- Rub in cold butter until like breadcrumbs.
- Stir in cheese. Add egg a little at a time to make a firm dough.
- Knead gently until smooth. Chill 15–20 mins.
- Roll to 6mm thick. Cut into strips.
- Bake 10–12 mins until just golden at edges.
- Cool on tray for 2 mins, then move to rack.
Notes
- I use a fluted pastry cutter—it gives them that charming, bakery look.
- If the dough gets warm and sticky, pop it back in the fridge for 5 mins.
- Grate the cheese finely—it blends better and makes for smoother dough.
- A quick egg wash before baking adds shine (optional but lovely).