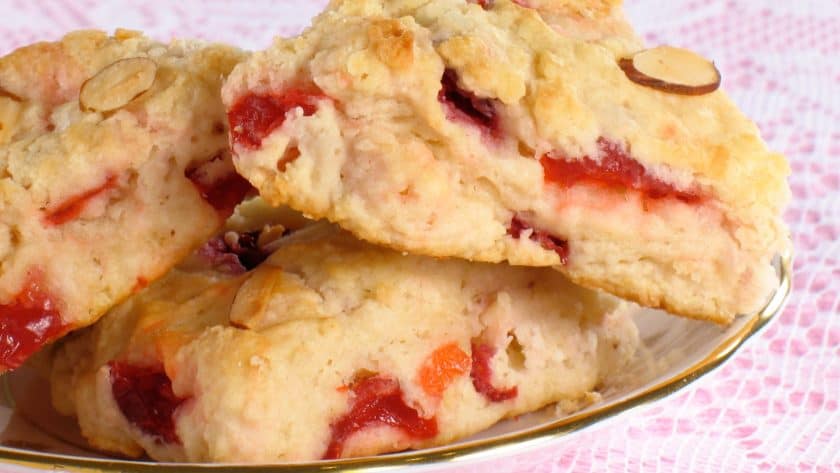
The first time I made cherry scones, I didn’t dry the glacé cherries. Rookie error. My dough went streaky pink, and the scones came out looking like they’d survived a cherry crime scene.
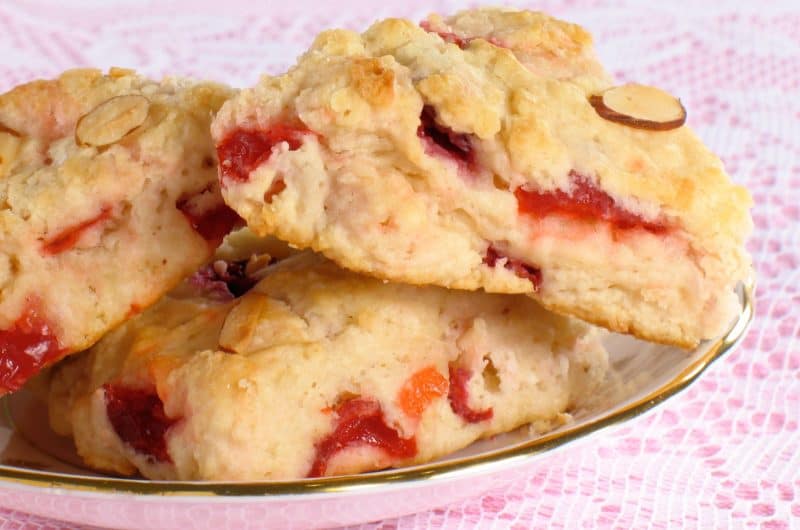
But after a few tweaks—mainly drying the cherries properly and chilling my butter—I finally nailed the balance: golden, gently sweet, with soft crumb and juicy cherry bits in every bite. These scones are now my go-to when someone’s “just popping by for tea” and I need to look more impressive than I feel.
If you’ve ever ended up with flat, dry scones (been there), let me show you why this version never fails.
What Makes This Recipe Special
- It’s fast. Start to finish in under 30 minutes—no chill, no fancy shaping.
- The cherries don’t sink. Drying and tossing them in flour first stops them clumping or bleeding.
- Soft inside, crisp golden top. That magic Mary Berry combo—made better with an egg glaze only on the top.
Most recipes don’t warn you about cherry streaking, but this one does. It’s those tiny tricks that make all the difference.
INGREDIENTS + WHY THEY MATTER
- 225g self-raising flour – Gives a light, airy rise without faff.
- 1 tsp baking powder – The extra lift helps with that classic height.
- 50g cold butter (cubed) – The key to a soft crumb. Must be cold for those little flaky pockets.
- 25g caster sugar – Just enough sweetness to let the cherries shine.
- 100ml milk – Binds the dough. I’ve also used oat milk—no drama.
- 1 egg (for brushing) – Golden tops without tough sides. Don’t let it drip down!
- 100g glacé cherries – Halved, dried, and tossed in a bit of flour. This keeps the colour clean and even.
- Pinch of salt – Always balances out the sweetness.
Want to Change It Up? Here’s How
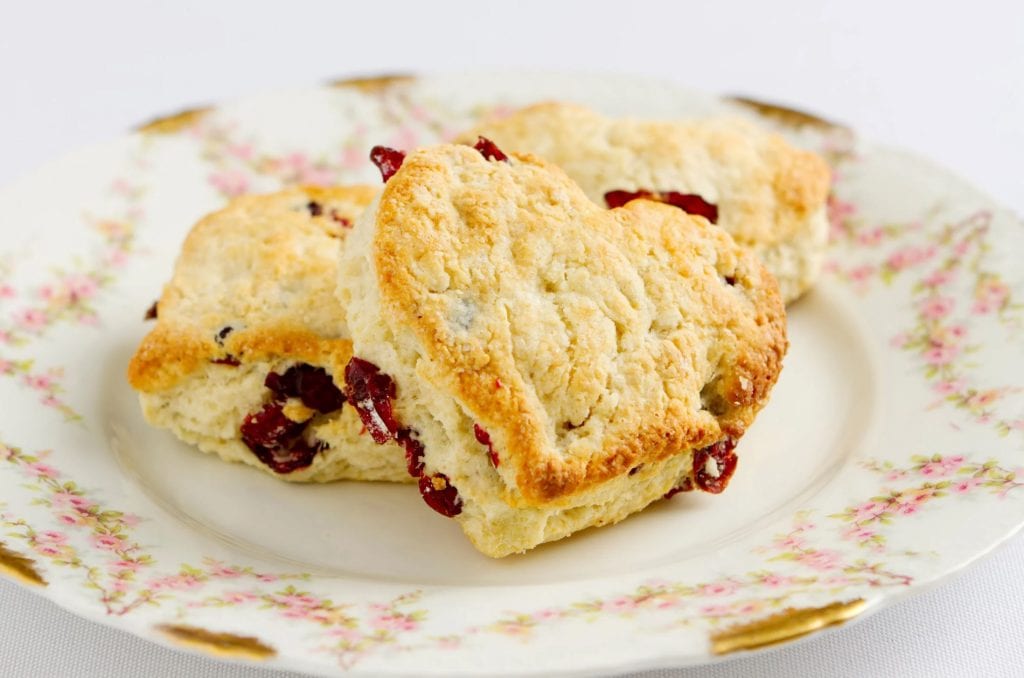
- Swap glacé for dried cherries – More tart, slightly chewy. Great with white chocolate.
- Add citrus zest – Lemon or orange zest gives a bright contrast.
- Use almond extract – Just a drop deepens the cherry flavour beautifully.
- Make mini scones – Use a smaller cutter for party trays (just reduce baking time to ~10 mins).
MISTAKES I’VE MADE (AND HOW TO AVOID THEM)
| What Went Wrong | Why It Happens | How to Fix It |
|---|---|---|
| Pink streaky dough | Didn’t dry the glacé cherries | Rinse, pat dry, and coat in a little flour |
| Flat scones | Warm butter + overworked dough | Keep butter cold and handle lightly |
| Tough edges | Egg wash ran down the sides | Brush only the tops, not the sides |
| Uneven rise | Twisted the cutter while cutting | Always press straight down, no twist |
HOW TO MAKE MARY BERRY CHERRY SCONES
- Preheat your oven to 200°C (180°C fan) or 400°F. Line a baking tray with parchment.
- Mix dry ingredients.
Sift flour, baking powder, and a pinch of salt into a large bowl. - Rub in the butter.
Use your fingertips (or a pastry cutter) to rub butter into flour until it looks like breadcrumbs. - Add sugar and cherries.
Stir in caster sugar. Dry your glacé cherries thoroughly, toss them in a little flour, then fold in. - Bring it together.
Add most of the milk and mix gently with a butter knife until a soft dough forms. Add more milk if needed. - Roll and cut.
Tip dough onto a floured surface. Knead just enough to smooth it out, then roll to 2 cm thickness. Use a sharp cutter to stamp out rounds. - Bake.
Place scones on tray. Brush just the tops with beaten egg. Bake 12–15 mins until risen and golden. - Cool and serve.
Cool slightly on a wire rack. Best served warm with butter, clotted cream, or cherry jam.
TIPS FROM MY KITCHEN
- I rinse and dry my glacé cherries before chopping—removes excess syrup that can turn dough sticky.
- Freeze the butter 10 minutes before using if your kitchen’s warm—makes rubbing in easier.
- I always test-bake one scone first to check rise and timing (especially with new ovens).
- Don’t be afraid to re-roll scraps once—but any more than that, and the dough gets tough.
STORAGE + SERVING
- Room Temp: Store in a tin for up to 3 days.
- Freezer: Freeze individually wrapped for up to 2 months.
- To Reheat:
- Oven: 160°C (320°F) for 5–7 mins.
- Microwave: 10–15 sec for softer texture.
- From frozen: Thaw first, then warm in oven for best results.
Serve With:
- Clotted cream + cherry or raspberry jam
- Whipped cream and fresh strawberries
- Lemon curd (surprisingly amazing with cherry scones)
- A pot of Earl Grey or English breakfast
FREQUENTLY ASKED QUESTIONS
Q: Can I use fresh cherries instead?
A: Yes, but chop and dry them thoroughly. Too much moisture can make the dough heavy.
Q: Why didn’t my scones rise?
A: Could be warm butter, overworked dough, or dull baking powder. Handle gently and use fresh leavening.
Q: How do I keep cherry scones from going dry?
A: Don’t overbake and store in an airtight tin with parchment or a paper towel inside.
Q: Can I make the dough ahead?
A: Yes—shape the scones, freeze them on a tray, then bag up once solid. Bake from frozen at 200°C for ~18 mins.
You May Also Like:
- Mary Berry Rhubarb and Ginger Jam Recipe
- Mary Berry Gluten-Free Scones Recipe
- Mary Berry Buttermilk Scones Recipe
- Mary Berry Fruit Scones Recipe
- Mary Berry Hot Cross Buns Recipe
Mary Berry Cherry Scones – Light, Lush, and Bursting with Glacé Goodness
Course: Afternoon Tea/SnackCuisine: British12
servings10
minutes15
minutes300
kcalIngredients
225g self-raising flour
1 tsp baking powder
50g cold butter, cubed
25g caster sugar
100ml milk
1 egg (for brushing)
100g glacé cherries, halved and dried
Pinch of salt
Directions
- Preheat oven to 200°C (180°C fan) / 400°F. Line baking tray with parchment.
- Sift flour, baking powder, and salt into a bowl.
- Rub in butter until mixture resembles breadcrumbs.
- Stir in sugar and prepared cherries.
- Add most of the milk. Mix into a soft dough.
- Roll to 2 cm thick. Cut using a sharp round cutter.
- Place on tray. Brush tops with egg.
- Bake 12–15 mins until golden and risen.
- Cool slightly. Serve warm with your favourite topping.