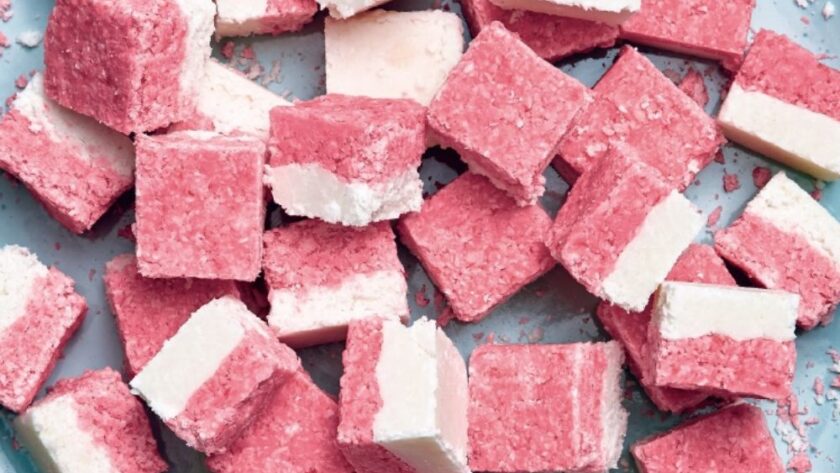
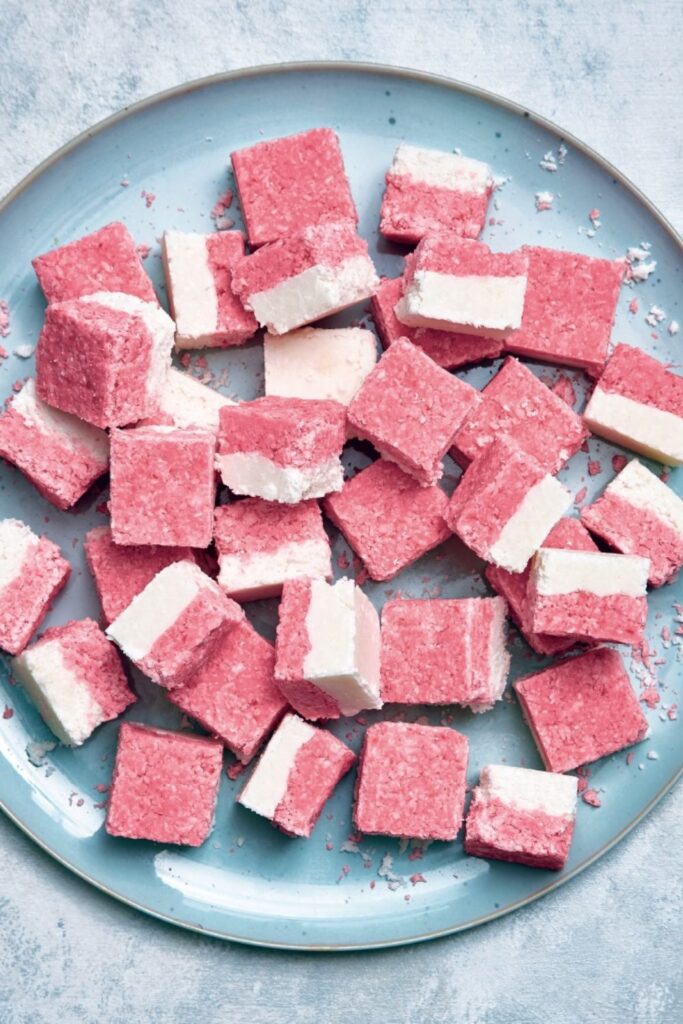
I first made this Coconut Ice on a rainy Tuesday when I needed something—anything—that didn’t require baking. To be honest, I wasn’t expecting much. Just a nostalgic treat from my nan’s sideboard, right? But I ended up making it three more times that month. The first batch? Way too soft. Second one? I got heavy-handed with the food colouring and turned it neon Barbie pink (not in a cute way). But by round three, I’d cracked it. Let me show you how I fixed the texture, mellowed the colour, and made it hold together just right.
Why This One Works So Well
Most coconut ice recipes either turn out dry and crumbly, or so squidgy they never set. This version hits that sweet spot—thanks to full-fat condensed milk (don’t skimp) and the right balance of sugar to coconut. Mary’s method is simple, but the magic is in how long you mix and how firmly you press. Also: don’t underestimate that setting time. An overnight chill makes all the difference for clean, tidy slices.
INGREDIENTS + WHY THEY MATTER
- Condensed Milk (Full-fat) – This is your glue. I once tried the light version—big mistake. It didn’t bind properly and made the whole thing mushy.
- Confectioners’ Sugar (Icing Sugar) – Keeps the texture smooth. I sift it first to avoid any graininess.
- Desiccated Coconut – Go for fine, not chunky. The coarser kind doesn’t pack as well and leaves gaps in your layers.
- Red Food Colouring – I use gel-based colour; you only need a tiny bit. Liquid food colouring can make the mixture too wet.
Making It Yours (Without Ruining It)
- Dairy-Free? You can use vegan condensed milk (I tested with coconut-based one from Nature’s Charm). It sets slightly softer but holds its shape.
- Fancy a flavour twist? Add a few drops of rose water or almond extract to the pink layer. Rose + coconut = Turkish delight vibes.
- Natural colouring – Beetroot powder works if you’re avoiding artificial dye. It gives a softer, dusky pink—quite pretty, actually.
MISTAKES I’VE MADE (AND HOW TO AVOID THEM
| What Went Wrong | Why It Happens | How to Fix It |
|---|---|---|
| Mixture stayed sticky | Didn’t knead long enough | Mix until it forms a firm, non-sticky ball |
| Pink layer bled into white | Didn’t let the white set a bit first | Chill the white base for 15 mins before adding pink |
| Crumbly squares | Didn’t press mixture down firmly | Use the back of a spoon + your palm to pack tightly |
HOW TO MAKE MARY BERRY’S COCONUT ICE
- Grease and Line Tin – I use a 7-inch square tin lined with baking paper. Helps lift it out cleanly.
- Mix Base – In a large bowl, combine condensed milk, icing sugar, and coconut. Mix with a spoon first, then use your hands to knead until it forms a soft dough.
- Press Half – Press half the mix into your tin. I use the base of a glass to smooth it flat.
- Colour the Rest – Add red food colouring very slowly to the remaining mix. Mix until evenly pink—don’t overdo it.
- Layer and Press Again – Spread the pink layer on top. Press it down firmly. A silicone spatula works well here.
- Set – Leave in a cool spot (not the fridge—it can go too hard) for 1–2 hours, or overnight.
- Slice – Once firm, lift out and cut into 36 squares. Wipe your knife between cuts for cleaner edges.

TIPS FROM MY KITCHEN
- I chill the white layer for 10 minutes before adding the pink—prevents colour bleed.
- I wear gloves when mixing in the dye. Saves scrubbing my hands pink for days.
- Use a hot knife (dip in hot water, wipe dry) for cleaner slicing.
- Store with baking paper between layers to avoid sticking.
STORAGE + SERVING
- Keeps for 2 weeks in an airtight tin at room temperature (or fridge if it’s warm).
- Freezes well – wrap in clingfilm and freeze for up to 2 months. Thaw for 30 minutes before serving.
- Lovely with strong tea (I’m partial to Earl Grey) or scattered on a dessert board with berries and shortbread.
FAQs – Real Query Answers
Q: Can I use shredded coconut instead of desiccated?
A: I wouldn’t. It’s too coarse and holds more moisture, which messes with the set.
Q: Do I have to use red food colouring?
A: Nope. Leave it all white for a minimalist look, or tint with natural colours like beetroot or raspberry powder.
Q: Why is my coconut ice crumbly?
A: Probably under-mixed or not pressed firmly enough. It should feel dense, not fluffy.
Q: Can kids make this?
A: Yes. No oven, minimal mess. Just help them with the pressing and slicing.
Q: Does it taste like Bounty bars?
A: It’s sweeter, drier, and more nostalgic—think school fêtes and nan’s Christmas tin.
Try More Recipes:
- Mary Berry Winter Crumble
- Mary Berry Meringues
- Mary Berry Granny’s Gingerbread Recipe
- Mary Berry Tiny Chocolate Cupcakes
Mary Berry Coconut Ice
Course: DessertsCuisine: BritishDifficulty: Easy36
servings20
minutes95
kcalMade this on a whim—first batch flopped, third was perfect. Sweet, simple, nostalgic. Here’s how I nailed it.
Ingredients
¾ cup (6 oz / 175ml) full-fat condensed milk
3 cups (12 oz / 350g) confectioners’ sugar (icing sugar)
3 cups (6.3 oz / 180g) desiccated coconut
A few drops of red food coloring
Directions
- Lightly grease and line a 7-inch square tin.
- In a bowl, mix condensed milk, sugar, and coconut. Knead until smooth.
- Press half the mix into the tin and smooth flat.
- Colour remaining mix with red food colouring until pale pink.
- Press pink mix over the white layer and smooth.
- Leave to set for 1–2 hours or overnight.
- Cut into 36 squares and store airtight.
Notes
- I chill the white layer for 10 minutes before adding the pink—prevents colour bleed.
- I wear gloves when mixing in the dye. Saves scrubbing my hands pink for days.
- Use a hot knife (dip in hot water, wipe dry) for cleaner slicing.
- Store with baking paper between layers to avoid sticking.

