I’ll be honest—I didn’t grow up calling these “drop scones.” To me, they were always just “Scotch pancakes,” made on my nan’s old griddle, usually slightly lopsided, and always eaten standing up while they were still too hot. So when I tried Mary Berry’s version, I thought, “How different can they be?”
Well. For starters, the batter looked too runny. I almost binned it. Then the first batch stuck to the pan (rookie error: didn’t oil it enough), and I nearly declared them a disaster. But by round two, I’d cracked it—and they were golden, fluffy, and gone in seconds.
So if yours flop at first—don’t panic. Let me show you how I fixed that.
What Makes This Recipe Special
The secret here is simplicity. No fancy ingredients. No rising time. But Mary’s version has just the right balance—a whisper of sugar, a soft rise from the flour and baking powder combo, and enough milk to pour easily without spreading like crepes.
Most drop scone recipes I’ve tested are too dense or too sweet. This one lands perfectly between breakfast and teatime snack.
Also: letting the batter rest for five minutes before cooking? Game-changer. The texture went from “meh” to “fluffy cloud.”
INGREDIENTS + WHY THEY MATTER
- Self-Rising Flour – Gives the scones their lightness. I once used plain flour + baking powder but they didn’t puff quite the same.
- Baking Powder – Extra insurance for a soft rise. Don’t skip it—even if your flour says “self-rising.”
- Caster Sugar – Just enough to round out the flavour. Granulated works in a pinch, but you’ll feel the grains.
- Egg – Binds the batter and adds richness.
- Milk – Loosens everything to that perfect thick-cream consistency. I used whole milk—semi-skim made it a tad dry.
- Sunflower Oil – For greasing. I once used butter and the scones browned unevenly (still tasty, though).
Want to Change It Up? Here’s How
- No Egg? Try 1 tbsp plain yoghurt + ½ tsp baking soda. Worked well for me on round two.
- Dairy-Free? Oat milk held up beautifully. Almond milk made them a bit dry.
- Add-ins: A small handful of blueberries or chopped banana works—but don’t overload or they won’t flip cleanly.
- Flour Swap: I did try a gluten-free flour blend (Doves Farm). They held together, but were a bit chewy. Worth it if needed, but not identical.
MISTAKES I’VE MADE (AND HOW TO AVOID THEM)
| What Went Wrong | Why It Happens | How to Fix It |
|---|---|---|
| First batch stuck badly | Didn’t oil the pan enough | Lightly oil between each round, not just once |
| Batter spread too much | Too much milk or didn’t rest | Rest for 5 mins and don’t over-thin the mix |
| Uneven colour / raw inside | Pan too hot | Medium heat—no higher! Slow and steady wins |
| Dense texture | Overmixed the batter | Just whisk until combined, no more |
HOW TO MAKE MARY BERRY’S DROP SCONES
- Make the batter: In a mixing bowl, combine flour, baking powder, and sugar. Make a well, crack in the egg, add half the milk. Whisk until smooth and thick. Then gradually whisk in the rest of the milk until it flows like thick cream.
- Rest it: Let the batter sit for 5–10 minutes while you heat the pan. (This helps the gluten relax and thickens the texture.)
- Heat your pan: Use a large non-stick frying pan or griddle. Brush lightly with sunflower oil and heat on medium.
- Drop the batter: Use a dessert spoon or tablespoon to drop neat puddles into the pan—leave room to spread.
- Flip when bubbly: When bubbles form on top (after ~1 min), flip gently. Cook the other side for 30–60 seconds.
- Repeat + stack: Keep the cooked ones warm under a clean tea towel. Repeat until all the batter’s gone.
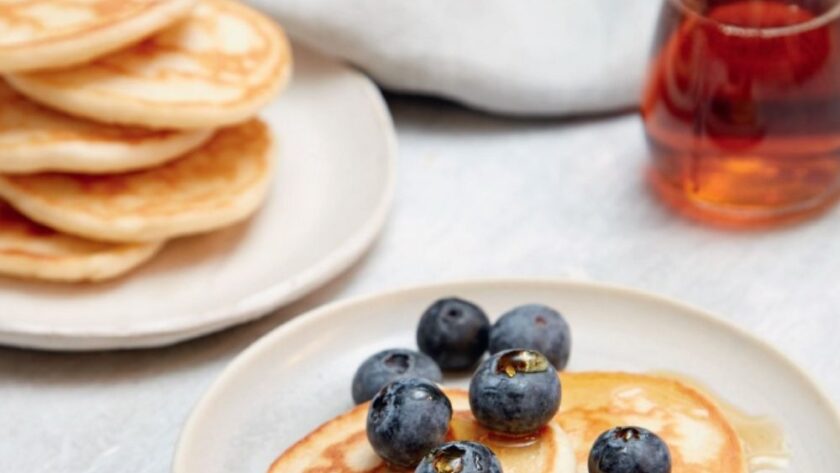
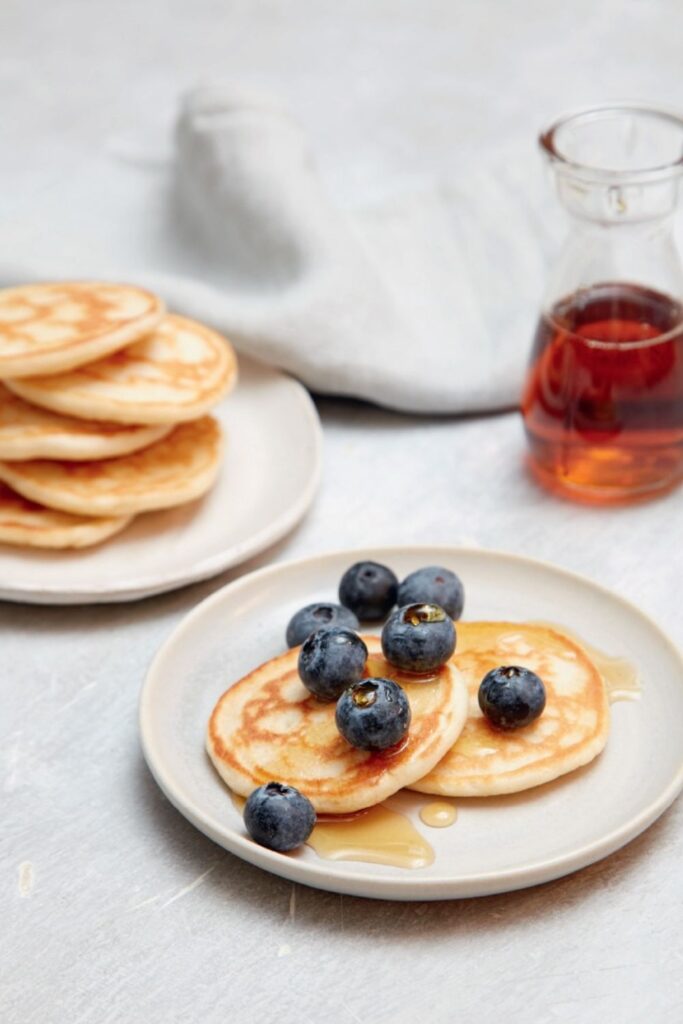
- Serve warm: Best fresh off the pan, with butter melting in.

TIPS FROM MY KITCHEN
- I use a metal measuring jug to pour batter—it gives me more control than spoons.
- If your first scone’s too pale, your pan’s not hot enough.
- I wipe the pan between rounds with a bit of oiled kitchen towel to keep them from sticking.
- You can keep the batter in the fridge for a day—but give it a stir before using.
STORAGE + SERVING
- To Store: Cool completely, pop in an airtight tub. Good for 2 days.
- To Freeze: Lay on a tray to freeze, then bag up. Reheat straight from frozen—see below.
- To Reheat: Microwave under a damp paper towel for 20 seconds or warm in the oven at 150°C for 5–7 mins.
- To Serve: Butter and honey is my go-to. But fresh raspberries and thick Greek yoghurt? Divine.
FAQs – Real Answers from My Kitchen
Q: Can I make the batter ahead?
A: You can—just keep it in the fridge and give it a quick whisk before cooking. It may thicken a bit, so add a splash of milk if needed.
Q: Why are my drop scones chewy?
A: Probably overmixed, or you used too much flour. Stop mixing as soon as it’s smooth.
Q: Can I double the recipe?
A: Yes! Just use a second pan to keep things moving—otherwise the batter thickens while you wait.
Q: Can I cook these in a waffle maker?
A: I tried. They puffed a bit but didn’t crisp—more cakey than waffle. Stick to a pan for best results.
Try More Recipes:
- The Ultimate Mary Berry Brunch Recipes for a Perfect Weekend
- Mary Berry Granola Recipe
- Mary Berry Eggy Bread Avocado and Ham Sandwich
- Mary Berry Breakfast on the Go
Mary Berry Drop Scones
Course: BreakfastCuisine: BritishDifficulty: Easy4
servings10
minutes15
minutes30
kcalFluffy, quick, and perfect for breakfast—these classic drop scones come together in minutes with simple pantry ingredients.
Ingredients
175g (1¼ cups) self-rising flour
1 tsp baking powder
40g (2½ tbsp) caster sugar
1 large egg
180ml (¾ cup) milk
Sunflower oil, for greasing
Directions
- In a bowl, mix flour, baking powder, and sugar.
- Add the egg and half the milk; whisk until thick and smooth.
- Add the rest of the milk gradually until it reaches thick pouring consistency.
- Let the batter rest for 5–10 minutes.
- Heat a non-stick pan over medium heat, lightly greased with sunflower oil.
- Drop spoonfuls of batter onto the pan.
- Flip when bubbles appear, then cook 30–60 seconds more.
- Keep cooked scones warm under a tea towel. Repeat with remaining batter.
- Serve warm with butter, syrup, or toppings of choice.
Notes
- I use a metal measuring jug to pour batter—it gives me more control than spoons.
- If your first scone’s too pale, your pan’s not hot enough.
- I wipe the pan between rounds with a bit of oiled kitchen towel to keep them from sticking.
- You can keep the batter in the fridge for a day—but give it a stir before using.