The first time I tried making a kimchi recipe at home, I was convinced I’d either end up poisoning myself or creating something so pungent it would clear the house. Spoiler: the smell was strong, my partner did complain, but the taste? Worth it. This simplified take on kimchi became my training wheels recipe—no mysterious ingredients I couldn’t pronounce, no need for a fermentation cave (yes, people have those).
I did make one mistake at the start: I forgot to rinse my salted cabbage enough, so the first batch was… aggressively salty. The dog wouldn’t even sniff it. Once I fixed that, the spice, tang, and crunch were perfect. Let me walk you through how I got there.
WHY THIS ONE WORKS SO WELL
Most “quick kimchi” recipes skip the deeper flavor notes because they rush the fermentation or skimp on the paste. This approach hits the sweet spot—simple enough for beginners, but with just enough funk and depth to feel authentic. The two big game-changers for me:
- Properly massaging the cabbage with salt – This isn’t just about seasoning; it changes the cabbage’s texture completely.
- Letting it ferment at room temperature first – Skipping straight to the fridge makes it taste like spicy coleslaw, not kimchi.
INGREDIENTS + WHY THEY MATTER
- Napa cabbage – Softens beautifully, yet keeps a gentle crunch after fermenting.
- Carrots & radish – Add colour, freshness, and a different type of crunch. I once skipped the radish, and the kimchi felt flat.
- Spring onions – A fresh, sharp note that develops into mellow sweetness over time.
- Gochugaru (Korean chili flakes) – Gives that signature red hue and gentle heat. If you use generic chili flakes, it’ll be sharper and less rounded.
- Fish sauce – Adds deep umami; soy sauce works if you’re keeping it vegan, but the flavour’s slightly less complex.
- Sugar – Feeds the fermentation and balances the heat. I tried without once—ended up with a sour but dull batch.
- Sea salt – Non-iodised is best for fermentation.
MAKING IT YOURS (WITHOUT RUINING IT)
- Vegan swap – Use soy sauce or miso paste instead of fish sauce.
- Extra veg – Add thinly sliced beetroot for earthiness and a dramatic magenta colour.
- Fruit twist – A few matchsticks of pear or apple give a gentle sweetness and help kick-start fermentation.
MISTAKES I’VE MADE (AND HOW TO AVOID THEM)
| What Went Wrong | Why It Happens | How to Fix It |
|---|---|---|
| Over-salty kimchi | Didn’t rinse cabbage enough | Rinse 2–3 times under cold water |
| Mushy texture | Left at room temp too long | Taste after 2 days; move to fridge once tangy |
| No tang, just spice | Went straight to fridge | Always start with room-temp ferment |
HOW TO MAKE THIS KIMCHI RECIPE
- Salt the cabbage – Chop into bite-sized pieces, toss with sea salt, and massage for a few minutes until it starts to wilt. Leave 1–2 hours.
- Make the paste – Mix garlic, ginger, chili flakes, sugar, and fish sauce into a thick paste.
- Rinse & drain – Wash cabbage thoroughly in cold water, drain well.
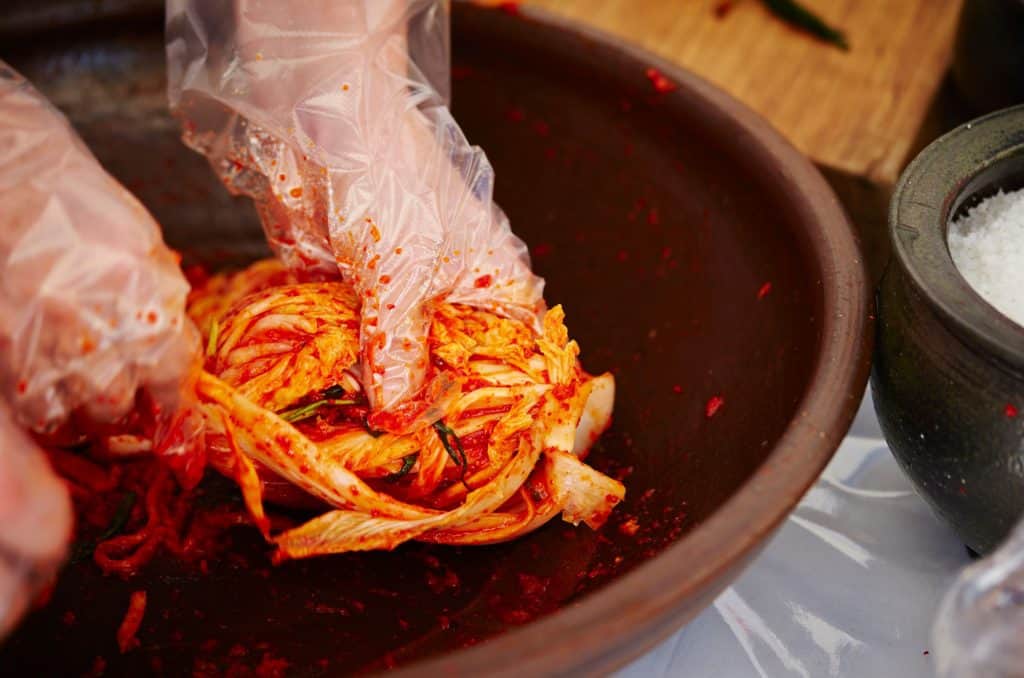
- Mix everything – Add carrots, radish, and spring onions to the cabbage. Massage in the spice paste (gloves save your hands here).
- Pack into jars – Press down firmly so the veg is submerged in its own brine. Leave an inch at the top.
- Ferment – Cover loosely and let sit at room temp for 2–3 days, tasting daily. When it’s as tangy as you like, seal and refrigerate.
TIPS FROM MY KITCHEN
- I press the veg down with the back of a spoon to keep it submerged—mold hates brine.
- In summer, fermentation can speed up; taste after just 24 hours.
- I label the jar with the date because otherwise, I always forget when I started it.
STORAGE + SERVING
- Shelf life – Keeps for 3–4 weeks in the fridge; peak flavour is usually days 5–10.
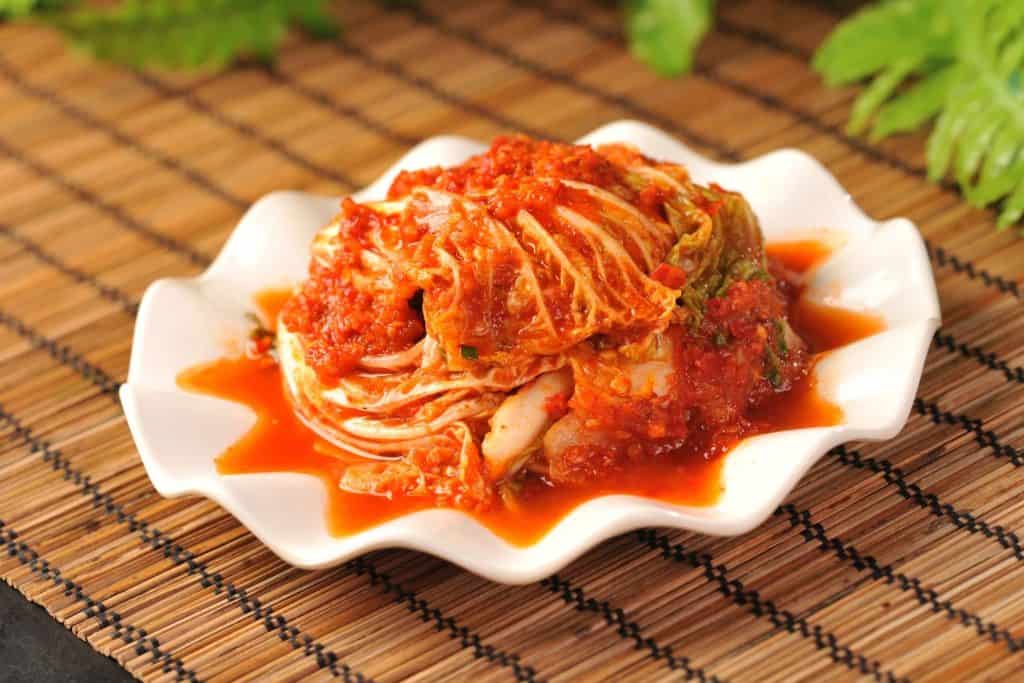
- Serving ideas – With fried rice, on burgers, or stirred into ramen.
- Freezing? – Possible, but the texture softens; I prefer fresh.
FAQs
Q: How to store kimchi so it lasts longer?
Store kimchi in a clean, airtight glass jar in the fridge. Always make sure the vegetables are fully submerged in their brine—any bits poking above the liquid can mould. I also press the veg down every couple of days with a clean spoon to keep them covered. Avoid double-dipping; always use a clean fork or spoon to take some out. Properly stored, homemade kimchi stays good for up to 4 weeks, developing deeper tang as it goes.
Q: Can you freeze kimchi without ruining it?
Yes, you can freeze kimchi, but expect a change in texture. The fermentation stops in the freezer, and the cabbage will soften once thawed. It’s still excellent for cooked dishes like kimchi fried rice, stews, or stir-fries. For best results, freeze in smaller portions so you can defrost only what you need. Avoid freezing freshly made kimchi—let it ferment for a few days first so it has more flavour.
Q: How to make vegan kimchi that still tastes authentic?
To make vegan kimchi, simply swap the fish sauce for a plant-based alternative. I’ve had great results using soy sauce for saltiness, or a teaspoon of white miso paste for a deeper savoury note. Everything else in the recipe stays the same—garlic, ginger, gochugaru, cabbage, and brine work exactly as they do in traditional kimchi. Bonus: vegan kimchi often ferments slightly faster, so keep an eye (and nose) on it after the first day or two.
Other Related Recipes:
- Mary Berry Chinese Crab and Sweetcorn Soup Recipe
- 15+ Mary Berry’s Ultimate Comfort Food Recipes
- Mary Berry Sticky Short Beef Ribs Recipe
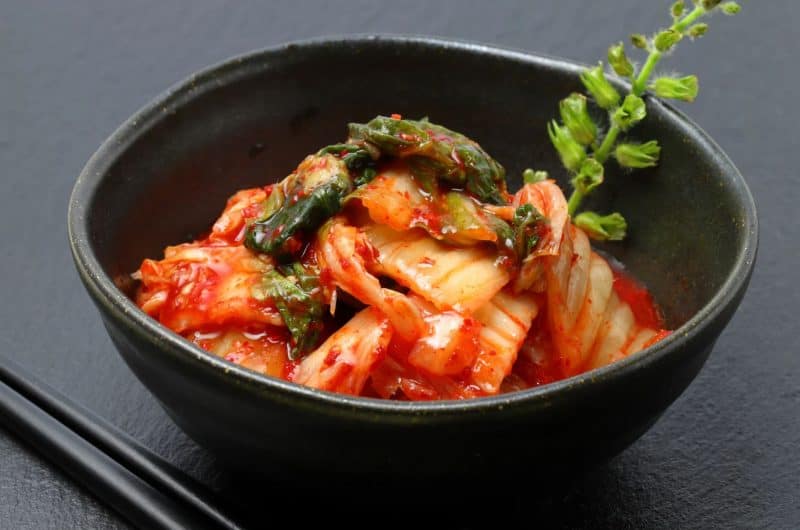
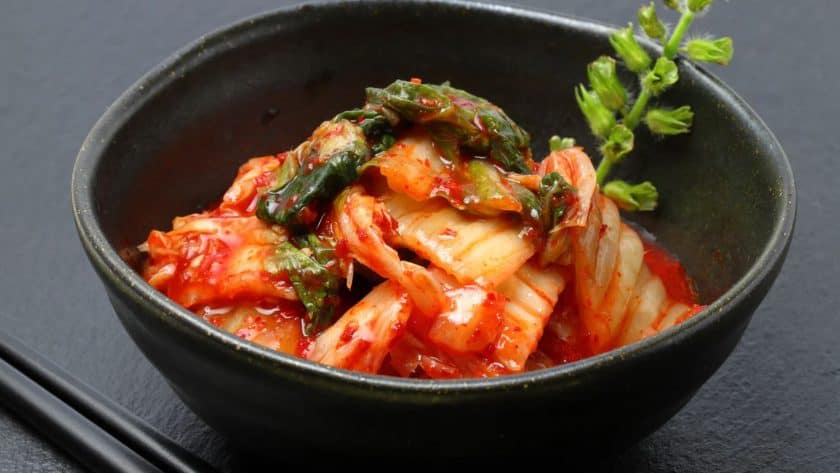
Mary Berry Kimchi Recipe – Spicy, Tangy, and Surprisingly Easy
Course: Side DishCuisine: Korean1 jar
servings25
minutes15
kcalFermentation time should be 2-3 days
Ingredients
1 large napa cabbage
2 carrots, julienned
1 small daikon or radish, sliced
4 spring onions, chopped
3 garlic cloves, minced
1 thumb ginger, grated
2–3 tbsp gochugaru or chili flakes
2 tbsp fish sauce (or soy sauce)
1 tbsp sugar
1 tbsp sea salt
Directions
- Salt cabbage, massage, and rest 1–2 hrs.
- Mix garlic, ginger, chili, sugar, and fish sauce into a paste.
- Rinse cabbage, drain well.
- Combine cabbage, veg, and paste—coat evenly.
- Pack tightly into jars, leaving space at top.
- Ferment 2–3 days at room temp, then refrigerate.