I’ll be honest, I used to be scared of meringues. They look so dainty and perfect—like they belong in a Parisian patisserie, not my drafty little kitchen. The first time I tried making them, I opened the oven too early, and they deflated like sad little clouds. Then I overbeat the whites, and the batch turned grainy and refused to pipe. I nearly swore them off.
But after a bit of stubborn testing (and a lot of sticky spoons), I cracked it—Mary Berry’s version is forgiving if you follow a few small-but-critical rules. So if your last meringues were chewy or wept sugar syrup down the sides, don’t give up yet. Let me show you what fixed it for me.
Why This One Works So Well
Most meringue recipes will tell you to just beat egg whites and sugar and hope for the best. But Mary’s got that extra bit of wisdom—slow sugar additions and a long, low bake. I didn’t realise how much the texture depends on patience.
Her ratios give you a meringue that’s crisp on the outside, with just a whisper of chew in the centre. Not sticky, not crumbly—just right for sandwiching with cream or crumbling over fruit. Oh, and baking them low and slow means no frantic peeking or panicking about browning.
Ingredients + Why They Matter
- 4 large egg whites – This is your structure. Room temp is key—they whip faster and hold better volume. Cold whites = flat meringue.
- 225g (1 cup) superfine sugar – The smaller crystals dissolve more easily. I once tried granulated. Big mistake—gritty texture.
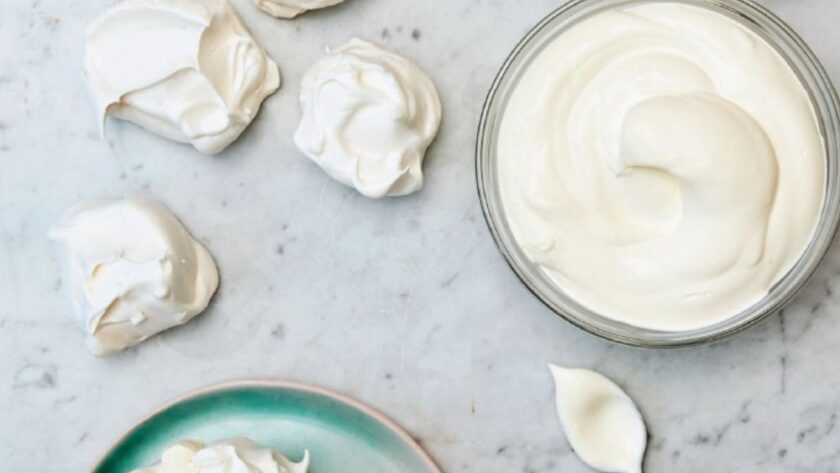
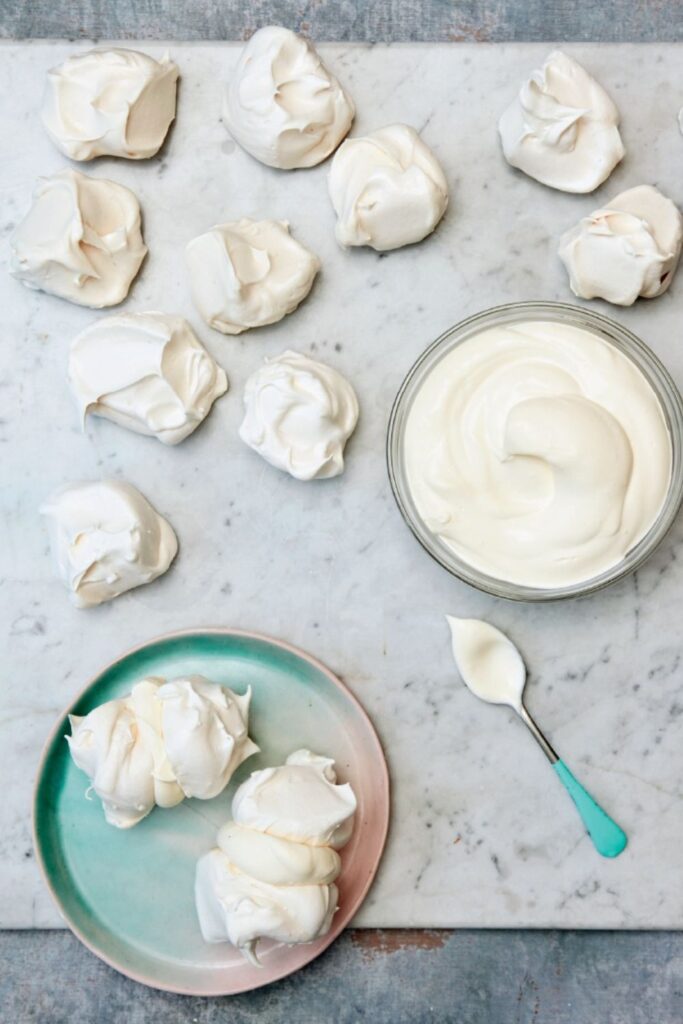
- 300ml (1¼ cups) heavy cream, whipped – For sandwiching. It turns a simple crisp into something almost pavlova-like.
Optional but lovely: add a scrape of vanilla paste to the cream, or swirl through some lemon curd.
Want to Change It Up
- Egg-Free? Aquafaba does work—but don’t expect the same volume or shine. Use 3 tablespoons per egg white and whip for a bit longer.
- Dairy-Free? Coconut cream whips beautifully chilled—just skim off the solid part. Slight coconut taste, but works well with berries.
- Add-ins: I’ve folded in crushed freeze-dried raspberries once—delicious, but they do darken the colour slightly.
- Chocolate Swirl: Fold through a little cooled, melted dark chocolate at the very end. Don’t overmix.
Mistakes I’ve Made (And How to Avoid Them)
| What Went Wrong | Why It Happens | How to Fix It |
|---|---|---|
| Meringues cracked | Oven too hot or cooled too fast | Stick to 225°F, and let them cool in the oven |
| Sticky bottoms | Underbaked | Give it at least 3 hours—yes, really |
| Grainy texture | Added sugar too quickly | One spoonful at a time. Count to ten between each. |
| No lift at all | Greasy bowl or cold egg whites | Clean, dry bowl and room temp eggs |
How To Make Mary Berry’s Meringues
- Preheat oven to 225°F (or 175°F fan). Line two baking trays with silicone mats or baking parchment.
- Separate 4 eggs, ensuring no yolk at all. Let the whites come to room temperature.
- Beat egg whites in a clean metal or glass bowl until soft peaks form. Use a stand mixer or electric hand whisk.
- Add sugar very gradually—1 teaspoon at a time—while continuing to beat. The mix should become glossy and stiff.
- Spoon or pipe onto trays. I use two teaspoons for rustic blobs, or a piping bag with a star tip when feeling fancy.
- Bake for 3–4 hours. Don’t open the oven door. Turn the oven off and leave them inside to cool fully—this helps avoid cracks.
- Whip cream until soft peaks form. Once the meringues are cool, gently sandwich them together.

Tips From My Kitchen
- I leave my oven door slightly ajar (with a wooden spoon) for the last hour—gives a drier shell.
- My metal mixing bowl gets a quick vinegar wipe before I start—removes any trace of grease.
- If your meringue won’t lift cleanly off the tray, they’re not done yet—give them another 30 minutes.
Storage + Serving
- Shelf Life: Unfilled meringues last up to 2 weeks in an airtight tin. Once filled with cream, eat within 24 hours.
- Fridge: Only store filled ones in the fridge. They soften slightly overnight but are still good.
- Freezer: Unfilled meringues freeze brilliantly. Freeze in a single layer, then bag them. Thaw at room temp—no sogginess.
- Serve with: Berries, lemon curd, or smashed over ice cream. I’ve even dipped the bases in dark chocolate once—no regrets.
FAQs – Real Questions, Real Answers
Q: Can I use granulated sugar instead of superfine?
A: You can, but I don’t recommend it. It won’t dissolve as cleanly, and your meringue might feel gritty.
Q: Why are my meringues chewy?
A: Most likely underbaked or there’s humidity in the kitchen. Give them longer, and cool them in the oven.
Q: Can I flavour the meringue itself?
A: Yes—but use dry flavours like cocoa powder or ground freeze-dried fruit. Liquids like lemon juice deflate it.
Q: Do I have to sandwich them?
A: Not at all. I often serve them open-faced, topped with cream and berries like tiny pavlovas.
Q: How do I know I’ve beaten the meringue enough?
A: It should be glossy, form stiff peaks, and if you rub a bit between your fingers, no sugar grit.
Try More Mary Berry Recipes:
- Mary Berry Christmas Apricot Trifle
- Mary Berry Salted Caramel Brownies
- Mary Berry Lemon Mousse
- Mary Berry Lemon Ice Cream
- Mary Berry Strawberry Pavlova
Mary Berry Meringues
Course: DessertsCuisine: BritishDifficulty: Easy24
servings15
minutes4
hours29
kcalLight, crisp meringues with a soft center—perfect for sandwiching with cream or serving with fruit.
Ingredients
4 large egg whites
1 cup (8 oz/225g) superfine sugar
1¼ cups (10 oz/300ml) heavy cream, whipped
Directions
- Preheat oven to 225°F (175°F fan). Line 2 trays with silicone or parchment.
- In a grease-free bowl, beat egg whites until soft peaks form.
- Add sugar one spoon at a time, beating until glossy and stiff.
- Spoon or pipe into rounds on the trays.
- Bake 3–4 hours until dry and firm. Cool in the oven.
- Whip cream, then sandwich cooled meringues.
Notes
- I leave my oven door slightly ajar (with a wooden spoon) for the last hour—gives a drier shell.
- My metal mixing bowl gets a quick vinegar wipe before I start—removes any trace of grease.
- If your meringue won’t lift cleanly off the tray, they’re not done yet—give them another 30 minute.