There’s something about milk chocolate cake that makes me feel like I’m six again—sticky fingers, a wonky slice, and not a care in the world. I made this one on a damp Tuesday when I just needed a win. But to be honest, the first round was a proper faff.
I used margarine straight from the fridge (as Mary says!), but didn’t let it blend in properly, so the batter looked a bit like chocolate cottage cheese. I also thought, “Surely whipped cream won’t hold up between layers?” Spoiler: it can—but only if it’s just whipped.
Still, once I got the feel for the texture and fixed a few missteps, this cake became a midweek hero. Soft, chocolatey, and nostalgic in the best way. Let me show you how I got it right—and how to dodge a few pitfalls.
What Makes This Recipe Special
Mary’s twist here is pure brilliance: evaporated milk. It gives that classic dairy richness without the weight of double cream or butter. Most chocolate sponge cakes lean on oil or melted butter—but this one keeps its structure with margarine and still turns out light as a feather.
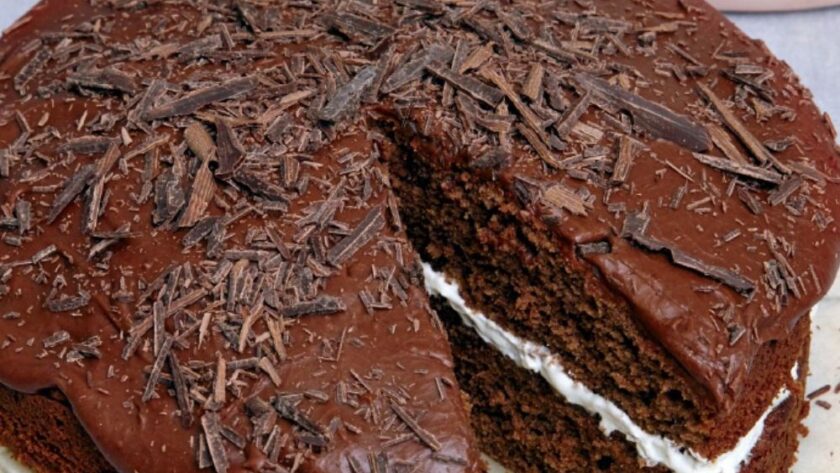
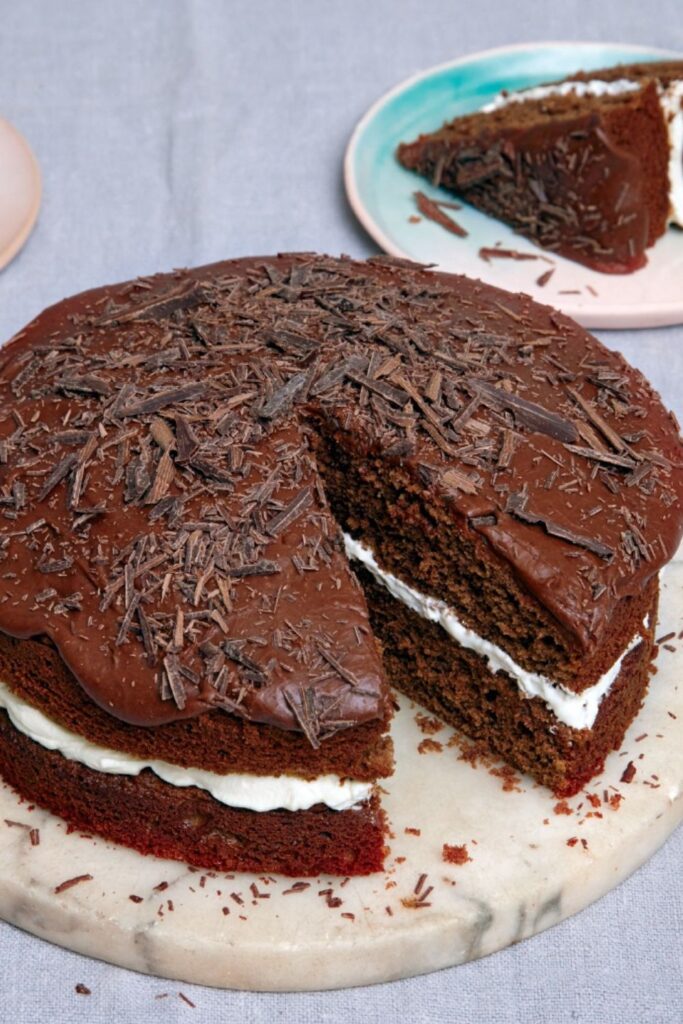
And the icing? It’s not overly glossy or cloying. Just cocoa-forward, velvety, and easy to slather on. It sets beautifully with a matte finish that practically begs for a sprinkle of chocolate shards.
INGREDIENTS + WHY THEY MATTER
- Self-Rising Flour – No need to fuss with extra baking powder. Keeps it foolproof and reliably fluffy.
- Superfine Sugar – Dissolves quickly, especially useful since we’re beating everything in one go.
- Cocoa Powder (sifted) – I once skipped sifting… and let’s just say the batter looked like it had freckles. Sift it!
- Cold Margarine – Sounds odd, but it works. Just chop it fine before mixing so it blends faster.
- Evaporated Milk – Adds moisture and a hint of caramel sweetness. Tried regular milk—totally flat in comparison.
- Heavy Cream (for filling) – Must be just-whipped. Overwhip it, and you’ll end up with butter in your sandwich layer.
Want to Change It Up? Here’s How
- No Eggs? I tested with 2 tbsp of yogurt per egg. The texture was slightly denser but still lovely.
- Gluten-Free: I used Doves Farm self-rising GF flour. Needed a tablespoon of extra milk to loosen the batter, but it worked.
- Dairy-Free: Used Flora Plant Butter and Oatly Cream for the filling. Not quite the same depth of flavour, but held up well structurally.
- Add-Ins: I once stirred chopped hazelnuts into the batter—delicious, but they sunk. Toss them in flour first if you try this.
MISTAKES I’VE MADE (AND HOW TO AVOID THEM)
| What Went Wrong | Why It Happens | How to Fix It |
|---|---|---|
| Batter looked lumpy | Cold margarine too chunky | Dice margarine small or soften slightly first |
| Cake cracked on top | Oven too hot or tins too small | Use correct tin size and check oven temp |
| Whipped cream melted into cake | Cake was still warm when assembling | Cool cakes completely—no shortcuts |
HOW TO MAKE MARY BERRY’S MILK CHOCOLATE CAKE
- Preheat your oven to 350°F (or 320°F fan). Grease and line two 8-inch sandwich tins.
- Combine cake ingredients in one bowl: flour, sugar, sifted cocoa, margarine, eggs, evaporated milk. Beat until smooth and fluffy. If it still looks grainy, beat another 30 seconds.
- Divide and level the batter between tins. Bake for 25–30 mins until the edges pull slightly and a fingertip press springs back.
- Cool completely on wire racks. Don’t rush this bit, especially if your kitchen’s warm.
- Make the icing: Melt margarine and cocoa on low. Stir constantly. Off the heat, whisk in evaporated milk and sifted icing sugar until smooth and thick.
- Assemble: Whip your cream until it just holds peaks. Spread over one cake, top with the second, then cover in icing. Finish with chocolate shards if you like. Let the icing set before slicing.

TIPS FROM MY KITCHEN
- I run my electric beater for 90 seconds—anything longer overworks the flour.
- I use evaporated milk at room temp—it blends faster.
- I slice the cake with a hot knife for cleaner edges.
- I freeze the sponges (unfilled) for up to a month—they defrost beautifully.
STORAGE + SERVING
- Fridge: Keeps well in an airtight container for up to 5 days. The cream holds up surprisingly well.
- Freezer: Freeze unassembled sponges for up to 3 months. I don’t recommend freezing with cream.
- Serve with: A scoop of vanilla ice cream or just a milky cup of tea. It’s sweet enough not to need much fuss.
FREQUENTLY ASKED QUESTIONS
Q: Can I use butter instead of margarine?
A: You can, but it makes the cake heavier. I tried it once—more buttery flavour, but less rise.
Q: Why evaporated milk? Can I use regular milk?
A: Evaporated milk adds richness without the weight. Regular milk makes the sponge drier, in my experience.
Q: Does the whipped cream hold up if I make it ahead?
A: Yes—for a day or two. Just make sure it’s whipped to soft peaks, not stiff, or it’ll separate.
Q: Can I make this in one deep tin instead of two?
A: Technically yes, but it takes nearly twice as long to bake and can sink in the middle. I stick with two tins.
Q: Is this the same as Mary’s chocolate fudge cake?
A: Nope—this one’s lighter and uses cocoa and evaporated milk. The fudge version is darker, denser, and uses actual chocolate.
Try More Recipes:
- Mary Berry Lime and Polenta Cake
- Mary Berry Butterscotch Cake
- Mary Berry American Chocolate Cake
- Mary Berry Mini Apple And Almond Cakes
- Mary Berry’s Easy Chocolate Cake
Mary Berry Milk Chocolate Cake
Course: CakesCuisine: BritishDifficulty: Easy8
servings10
minutes30
minutes370
kcalLight, chocolatey sponge layered with whipped cream and cocoa icing—milk chocolate cake is pure nostalgic comfort.
Ingredients
- For the Cake:
1¾ cups (200g) self-rising flour
1 cup (225g) superfine sugar
3½ tbsp (25g) cocoa powder, sifted
½ cup (100g) margarine, from fridge
2 large eggs
⅔ cup (150ml) evaporated milk
- For the Icing:
1 tbsp (30g) margarine
3½ tbsp (25g) cocoa powder, sifted
2 tbsp evaporated milk
1 cup (125g) confectioners’ sugar, sifted
Chocolate shards (optional)
- For the Filling:
½ cup (120ml) heavy cream, lightly whipped
Directions
- Preheat oven to 350°F (320°F fan). Grease and line two 8-inch round tins.
- Beat all cake ingredients together until smooth.
- Divide batter evenly and level. Bake 25–30 mins until springy.
- Cool completely on wire racks.
- Melt margarine + cocoa for icing. Remove from heat, stir in milk + sugar.
- Spread whipped cream on one sponge. Top with second. Cover with icing. Add chocolate shards.
Notes
- I run my electric beater for 90 seconds—anything longer overworks the flour.
- I use evaporated milk at room temp—it blends faster.
- I slice the cake with a hot knife for cleaner edges.
- I freeze the sponges (unfilled) for up to a month—they defrost beautifully.