I’ll be honest—my first attempt at these brownies was a bit of a mess. I got cocky. Thought I could eyeball the baking time. Big mistake. They came out molten in the middle and crisp as toast on the edges. I salvaged the lot with a scoop of ice cream and pretended it was intentional. It wasn’t.
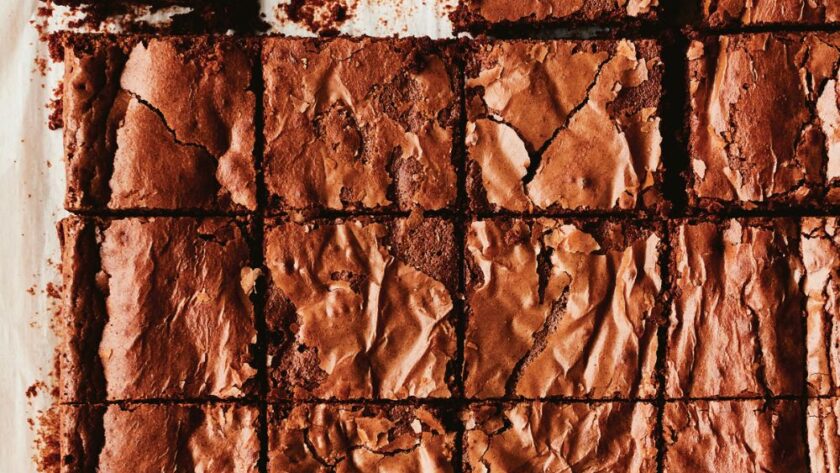
But when I actually followed Mary’s method—and made a few of my own tweaks—they turned out properly glorious. The crackly top, that squidgy centre, and a deep, rich cocoa hit that feels like a hug in fudge form. Let me show you how I fixed it, and why I now swear by this version.
Why This One Works So Well
There are a million brownie recipes out there—but this one nails that fine balance between structure and softness. Here’s why:
- Muscovado sugar brings moisture and chew, without making things too cakey.
- No cocoa powder, just real chocolate. Loads of it. That’s what gives the depth and shine.
- Self-raising flour adds just a whisper of lift—enough to keep them from being stodgy bricks.
- And here’s the kicker: you pull them before they look done. If you wait till they look baked, you’ve gone too far.
INGREDIENTS + WHY THEY MATTER
- 360g Dark Chocolate – The soul of the brownie. I use 70% cocoa. Once tried with cheaper stuff and it just tasted flat.
- 225g Butter – Helps melt the chocolate smoothly and gives that luscious, melt-in-mouth texture.
- 225g Light Muscovado Sugar – Adds moisture and caramel depth. White sugar makes them too dry, trust me.
- 4 Eggs – Bind everything and help form that shiny top. Room temp eggs work best here.
- 75g Self-Raising Flour – Just enough to hold it all together. Plain flour + 1 tsp baking powder works if you’re stuck.
- 1 tsp Vanilla Extract – Rounds out the sweetness. I once forgot it—definitely missed it.
- 75g Chocolate Chips – For little bursts of goo. I use dark, but white or milk also shine.
Ingredient Swaps That Hold Up
- Gluten-Free: I tested with Doves Farm GF self-raising flour—no one noticed the difference.
- No muscovado: Soft brown sugar works okay, but lacks that rich treacle note.
- Dairy-Free: I’ve used Flora Plant Butter and 70% DF chocolate—slightly less glossy, still good.
- Add-ins: Chopped pecans or raspberries are divine—just keep it to 75g max or the structure suffers.
MISTAKES I’VE MADE (AND HOW TO AVOID THEM)
| What Went Wrong | Why It Happens | How to Fix It |
|---|---|---|
| Raw middle, burnt edges | Overbaked edges before centre set | Pull at 40–43 mins, when centre wobbles slightly |
| Cakey texture | Overmixed after adding flour | Fold gently—stop as soon as flour disappears |
| Greasy top layer | Didn’t emulsify eggs and sugar properly | Stir well until glossy before adding flour |
| Chocolate chips vanished | Folded while batter was still hot | Let it cool for 5 mins first |
HOW TO MAKE MARY BERRY’S ULTIMATE CHOCOLATE BROWNIES
- Preheat your oven to 180°C (160°C fan) / Gas 4. Line a 30x23cm traybake tin with baking paper—grease it well, corners too.
- Melt the chocolate and butter together in a heatproof bowl over a pan of simmering water. Stir until smooth. Remove from heat and cool for 5 mins (don’t skip this or your eggs will scramble).
- Add the sugar and eggs. Beat them in until the mixture is shiny and cohesive—like thick ganache.
- Fold in the flour and vanilla. Be gentle. Just until it disappears. Then fold in the chocolate chips last.
- Pour into tin and spread evenly. Tap the tin gently to level.
- Bake for 45 mins, but start checking at 40. Edges should look set. The centre? Still wobbly and fudgy if you jiggle the tin. That’s perfect.
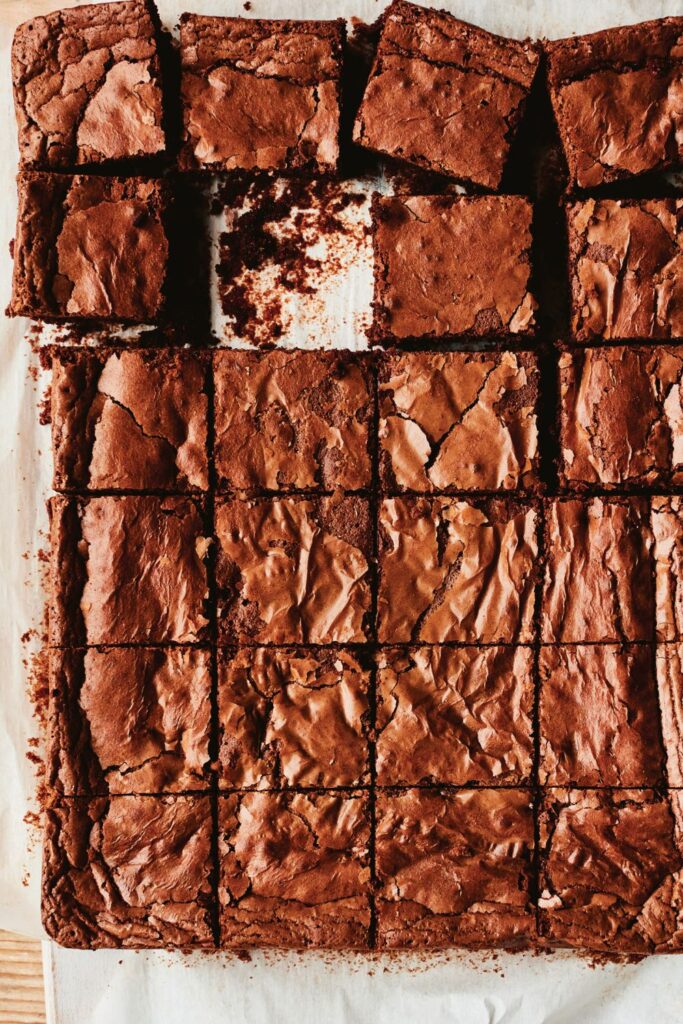
- Cool completely in the tin—it sets as it rests. Then slice into 24 little squares of joy.

TIPS FROM MY KITCHEN
- I use a cheap old metal traybake tin—it gives crisp edges every time.
- My oven runs hot, so I check at 38 mins and usually pull at 42.
- I pop the chocolate chips in the fridge beforehand—they hold their shape better.
- A serrated knife makes slicing easier when they’re super fudgy.
STORAGE + SERVING
- Keeps moist for 4–5 days in an airtight tin (not the fridge—it dries them).
- Freeze in layers between parchment for up to 3 months. Defrost at room temp—no reheating needed.
- Serve with: A blob of crème fraîche and raspberries. Or warm one slightly and dunk in cold milk. Bliss.
FREQUENTLY ASKED QUESTIONS
Q: Can I use milk chocolate instead of dark?
A: I tried it once. Too sweet and too soft—better to stick with 70% dark or go half-and-half.
Q: Why didn’t I get the crackly top?
A: It’s down to properly beating the sugar and eggs. That glossy finish is key—don’t skimp.
Q: Can I double the recipe?
A: Technically yes, but you’ll need a very big tin and longer bake time. I’d bake two separate batches instead for best results.
Q: What’s the best chocolate to use?
A: I like Lindt 70% or Waitrose No.1 dark. Anything too sweet just muddies the flavour.
Try More Mary Berry Recipes:
- Mary Berry Lemon Mousse
- Mary Berry Easy Vanilla Ice Cream
- Mary Berry Hot Chocolate Pudding
- Mary Berry Flapjacks
Mary Berry Ultimate Chocolate Brownies
Course: DessertsCuisine: BritishDifficulty: Easy24
servings15
minutes45
minutes240
kcalFirst batch was a gooey disaster—overbaked edges, raw middle. Fixed it. Now they’re crackly-topped, fudgy perfection every time.
Ingredients
360g Dark chocolate , broken into pieces
225g Butter, cubed, plus extra for greasing
225g Light muscovado sugar
4 Eggs, beaten
75g Self-raising flour
1 tsp Vanilla extract
75g Chocolate chips
Directions
- Preheat oven to 180°C (160°C fan). Grease and line a 30x23cm tin.
- Melt chocolate and butter over simmering water. Cool slightly.
- Stir in sugar and eggs until glossy.
- Fold in flour and vanilla, then chocolate chips.
- Pour into tin, level, and bake for 40–45 mins. Centre should wobble.
- Cool completely in tin. Slice into squares.
Notes
- I use a cheap old metal traybake tin—it gives crisp edges every time.
- My oven runs hot, so I check at 38 mins and usually pull at 42.
- I pop the chocolate chips in the fridge beforehand—they hold their shape better.
- A serrated knife makes slicing easier when they’re super fudgy.