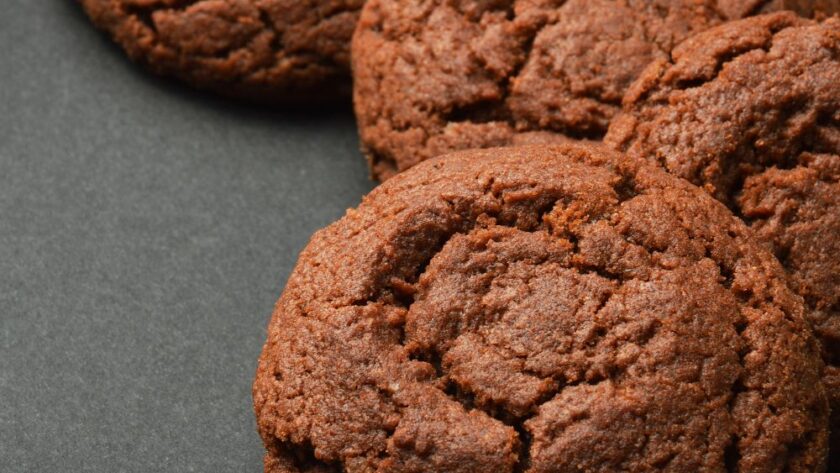
There’s something wonderfully nostalgic about the smell of cocoa and butter wafting through the kitchen—but let me tell you, the first time I tried Mary Berry’s chocolate biscuits, I didn’t get the comforting crunch I was expecting.
To be honest, I thought, “How hard can a four-ingredient biscuit be?” Famous last words. My first batch melted into flat chocolate puddles because I didn’t chill the dough—and my butter was too soft. But once I tweaked the method (and stopped being cocky), these became my go-to “bake it and forget it” biscuit. No eggs, no fuss, just deeply chocolatey, crisp-edged beauties that actually hold their shape.
Let me show you how I fixed it—and why this simple biscuit is worth mastering.
What Makes This Recipe Special
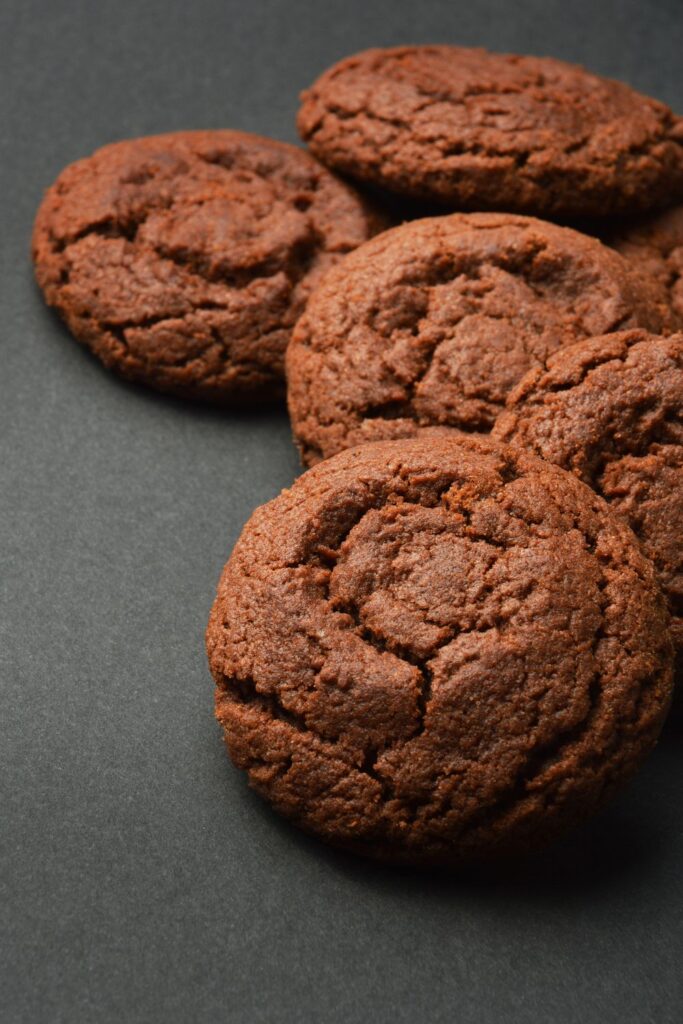
The genius is in the minimalism. Four ingredients, no eggs, no chilling (though I’ll tell you why I sometimes do), and somehow it still turns out biscuits with a proper snap and full chocolate flavour.
Most chocolate biscuits lean too cakey or too dry—but Mary’s ratio of butter to flour makes these crisp on the edges, tender in the centre, and properly short. And self-raising flour is the unsung hero here: it gives just enough lift to keep them from turning into chocolate frisbees.
Also, fork-marking them with cold water is more than just quaint. It keeps the dough from sticking and helps them bake more evenly.
Ingredients and Why They Matter
- Butter (114g or ½ cup) – The base of the biscuit. Room temperature is key—but not melting. Too soft and they spread like mad. I once used butter straight from the microwave. Regret.
- Superfine sugar (50g or 4½ tablespoons) – Dissolves quickly and gives a delicate crispness. I’ve tried granulated—it made the texture gritty.
- Self-raising flour (150g or 1¼ cups) – Adds a slight rise. I once swapped in plain flour and forgot to add baking powder. Not a total disaster, but the texture suffered.
- Cocoa powder (25g or 5 tablespoons) – Use a good-quality unsweetened cocoa. I tried a Dutch-processed one once—richer colour, but the biscuits tasted a bit flat.
Making It Yours Without Ruining It
- Want them dairy-free: I’ve had decent results using Flora Plant Butter. Slightly softer bake, but still lovely.
- Add-ins that work: A handful of chopped hazelnuts or mini chocolate chips. Don’t go overboard—too much, and they won’t hold shape.
- Flour swap: You can use plain flour with 1½ teaspoons baking powder if you don’t have self-raising. I’ve tested it and it works.
- Gluten-free: I tried Doves Farm gluten-free self-raising once. Needed an extra teaspoon of milk to bring the dough together, but the texture held up.
Mistakes I’ve Made and How to Avoid Them
| What Went Wrong | Why It Happens | How to Fix It |
|---|---|---|
| Biscuits spread too much | Butter too warm | Use room-temp butter, not melted |
| Dough cracked when shaping | Too dry or overworked | Stop mixing as soon as it’s smooth |
| Gritty texture | Used granulated sugar | Stick to superfine or blitz it in a blender |
How to Make Mary Berry’s Chocolate Biscuits
- Preheat your oven to 190°C (375°F) or 160°C fan. Line two trays with baking paper.
- Cream the butter and sugar until light and fluffy. If using a wooden spoon, give your arm a workout—it’s worth it.
- Add flour and cocoa powder, mixing until it comes together as a smooth dough. Don’t overwork it or it’ll go tough.
- Roll into balls—about a heaped teaspoon each. Place on trays, spaced slightly apart.
- Flatten gently with a fork dipped in cold water. It stops sticking and helps them bake evenly.
- Bake for 10 minutes. They’ll still feel soft but will firm up as they cool.
- Cool on tray for 5 minutes, then transfer to a wire rack to cool completely.

Tips From My Kitchen
- I chill the dough for 10 minutes in summer—it helps them keep shape.
- My fork lives in a mug of cold water while I bake. No sticking and no faff.
- If you want crisp edges, don’t overbake—10 minutes is plenty. They firm as they cool.
- I often double the batch and freeze half the dough as pre-shaped balls.
Storage and Serving
- Room Temperature: Keep in an airtight tin for up to 5 days.
- Freezer: Freeze baked biscuits for up to 3 months. They thaw quickly and still snap nicely.
- Serve with: Strong black tea, espresso, or a blob of vanilla ice cream.
Frequently Asked Questions
Can I make these without self-raising flour?
Yes. Just use plain flour plus 1½ teaspoons baking powder. I’ve done it and it works well.
Why are my biscuits too soft?
Most likely underbaked or your butter was too warm. They should feel soft when they come out of the oven but will firm up as they cool.
Can I add chocolate chips?
Yes—just a small handful. Too many and they won’t flatten properly.
Are these meant to be chewy or crisp?
Crisp with a slight tenderness in the centre—definitely not chewy like cookies.
Can I double the recipe?
Absolutely. I always do. Freeze half the dough or bake extra for gifts.
Try More Mary Berry Recipes:
- Mary Berry Iced Biscuits
- Mary Berry Granny’s Little Shortbread Biscuits
- Mary Berry Raspberry Knickerbocker Glory
- Mary Berry Limoncello Ice Cream
- Mary Berry Baklava
Mary Berry Chocolate Biscuits
Course: DessertsCuisine: BritishDifficulty: Easy24
servings15
minutes10
minutes67
kcalThought these would be simple—first batch melted. Tweaked the butter, nailed the texture. Now they’re my go-to chocolate biscuit.
Ingredients
114g (½ cup) butter, softened
50g (4½ tbsp) superfine sugar
150g (1¼ cups) self-rising flour
25g (5 tbsp) cocoa powder
Directions
- Preheat oven to 190°C (375°F) or 160°C fan. Line two baking trays.
- Cream butter and sugar until fluffy.
- Add flour and cocoa, and mix until a smooth dough forms.
- Roll into teaspoon-sized balls, place on trays.
- Flatten each ball with a fork dipped in cold water.
- Bake for 10 minutes. Let cool slightly, then transfer to a rack to cool completely.
Notes
- I chill the dough for 10 minutes in summer—it helps them keep shape.
- My fork lives in a mug of cold water while I bake. No sticking and no faff.
- If you want crisp edges, don’t overbake—10 minutes is plenty. They firm as they cool.
- I often double the batch and freeze half the dough as pre-shaped balls.