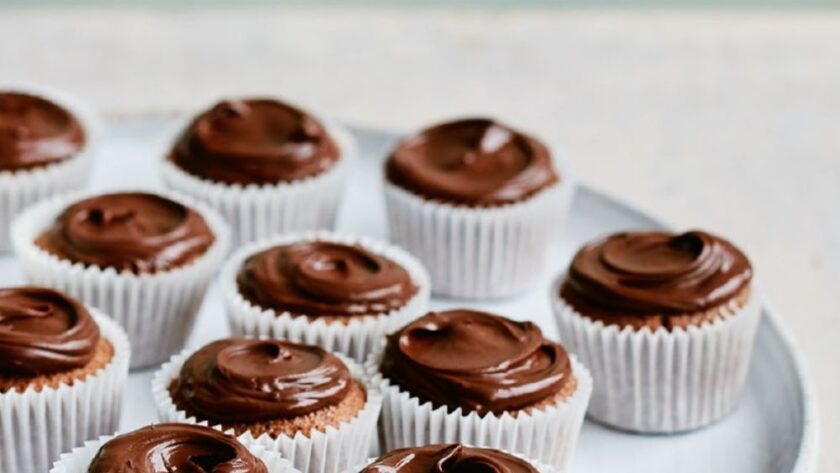
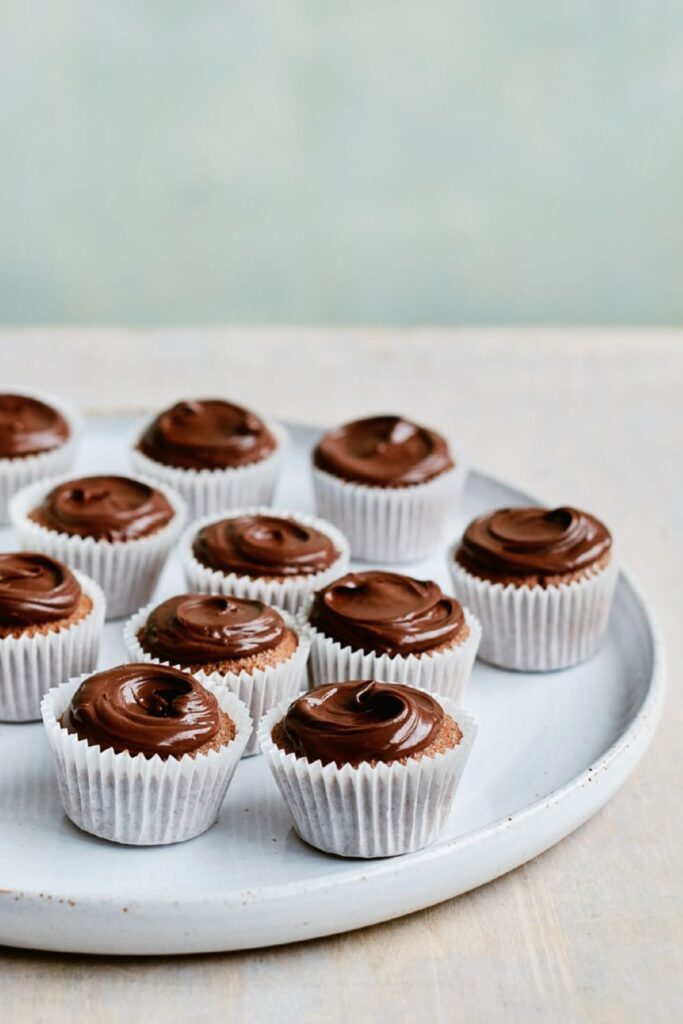
I made these tiny chocolate cupcakes one rainy Tuesday when I was desperate for a chocolate fix but didn’t fancy a full-blown bake. You know the feeling—something warm and sweet to nibble between Zoom calls. I’d remembered this one from Simple Comforts and thought, “Alright, Mary, let’s see if these babies deliver.”
The first batch? I’ll be honest—they were dry as dust. I’d overbaked them by a few minutes (they’re tiny, after all), and my old oven doesn’t play nice with mini tins. But by the second go, I’d cracked it: gooey middles, glossy icing, and just enough richness to make one feel like a proper treat without overdoing it.
Let me show you what went wrong (and how I fixed it) so your batch turns out properly dreamy from the start.
WHY THIS ONE WORKS SO WELL
These cupcakes punch way above their weight. Here’s why:
- The cocoa + hot water trick is genius—it gives a deeper chocolate flavour without needing actual melted chocolate. Trust me, I was sceptical. But it works.
- The baking spread (yes, not butter) makes the crumb lighter and more forgiving if you overmix slightly.
- They’re quick. I had the tray cooling on the rack in under 30 minutes—ideal for spontaneous baking urges.
INGREDIENTS + WHY THEY MATTER
- Cocoa Powder – Go for a dark, unsweetened one. Sieving it is crucial—lumps ruin the texture and dull the flavour.
- Boiling Water – Helps “bloom” the cocoa, unlocking a richer flavour. Don’t skip this.
- Baking Spread – Gives a super soft crumb. I tested it with butter, and they were firmer and slightly greasy.
- Caster Sugar – Dissolves quickly, which helps keep the texture smooth and delicate.
- Self-Raising Flour – No need for extra baking powder. I once tried plain flour + baking powder and the rise was off.
- Vanilla Extract – Just a touch. It lifts the cocoa and keeps the cupcakes from tasting flat.
- Chocolate Spread (for icing) – I used Nutella once and a fancier 70% chocolate spread another time. Both worked, but the darker one gave a richer finish.
MAKING IT YOURS (WITHOUT RUINING IT)
- Egg-free: I tried with flax eggs (1 tbsp ground flax + 2.5 tbsp water per egg). It worked, but they were denser. Fine if you don’t mind a fudgy bite.
- Dairy-free: Swap baking spread for Flora Plant Butter and use a DF chocolate spread. Still tasty, though slightly less fluffy.
- Add-ins: A few chopped hazelnuts or a surprise raspberry in the centre is lovely. Just keep pieces small or they’ll sink.
- Want less sweet: Cut sugar to 85g and use a darker chocolate spread on top.
MISTAKES I’VE MADE (AND HOW TO AVOID THEM)
| What Went Wrong | Why It Happens | How to Fix It |
|---|---|---|
| Dry, crumbly texture | Overbaked by 3+ mins | Check at 11 mins, not 15 |
| Soggy bottoms | Used a soft paper case without tin | Always bake in a mini muffin tin |
| Sinking middles | Opened oven too soon | Don’t peek before 10 mins |
| Streaky batter | Didn’t mix cocoa properly | Stir cocoa + boiling water fully before adding other ingredients |
HOW TO MAKE MARY BERRY’S TINY CHOCOLATE CUPCAKES
- Prep the Tins: Line 3 mini muffin trays (36 holes) with petit four cases. Preheat your oven to 180°C (160°C fan).
- Cocoa Bloom: Mix 1 tbsp cocoa powder with 2 tbsp boiling water until smooth and glossy.
- Mix Batter: Add eggs, baking spread, sugar, flour, vanilla. Whisk it all in with the cocoa using an electric mixer—about 1 minute until pale and fluffy.
- Spoon Carefully: Fill each case just over halfway. A teaspoon works best here.
- Bake Fast: Bake for 12–14 minutes. They should spring back when gently touched.
- Cool Completely: Transfer to a wire rack. They need to be stone-cold before icing.
- Ice It: Spread a little chocolate spread on each with a palette knife or the back of a spoon.

TIPS FROM MY KITCHEN
- I always chill the chocolate spread for 10 minutes before icing—it spreads better that way.
- If using Nutella, warm it ever so slightly for a smoother finish.
- My fan oven runs hot—I pull them at 12 minutes, tops.
- I keep a baking-only teaspoon for filling tiny cases—less mess, more even cupcakes.
STORAGE + SERVING
- Keeps for 3 days in an airtight tin (no need to fridge unless it’s warm).
- Freeze (un-iced) for up to 2 months. Wrap tightly.
- Serve with coffee, berries, or just greedily eaten over the sink at midnight—I won’t judge.
- Reheat? Not necessary. If frozen, let defrost on the counter and ice fresh.
FREQUENTLY ASKED QUESTIONS
Q: Can I double this recipe for standard cupcakes?
A: Yes—but bake them for 18–20 minutes instead. Makes about 12.
Q: Can I use butter instead of baking spread?
A: You can, but the texture changes—firmer, richer, a little less fluffy. Still nice.
Q: Can I pipe the chocolate spread?
A: You can, but it needs to be quite firm. I personally prefer a rustic swipe with a spoon.
Q: How do I keep them moist?
A: Don’t overbake. And make sure your eggs and spread are room temp—they emulsify better.
Try More Mary Berry Recipes:
- Mary Berry Lemon Cupcakes
- Mary Berry Chocolate Cupcakes
- Mary Berry Carrot Cupcakes
- Mary Berry Banoffee Meringue Roulade
- Mary Berry Key Lime Tranche
Mary Berry Tiny Chocolate Cupcakes
Course: DessertsCuisine: BritishDifficulty: Easy36
servings10
minutes15
minutes97
kcalMade these on a whim—first batch flopped, second batch? Perfectly fudgy. Tiny, quick, and dangerously easy to eat.
Ingredients
1 tbsp / 15 ml cocoa powder, sieved
2 tbsp / 30 ml boiling water
2 large eggs
100g / 4 oz baking spread
100g / 4 oz caster sugar
100g / 4 oz self-raising flour
1 tsp / 5 ml vanilla extract
- For The Icing:
100g / 4 oz chocolate spread
Directions
- Preheat oven to 180°C (160°C fan) / 350°F. Line 36 mini muffin holes with petit four cases.
- In a bowl, mix cocoa and boiling water until smooth.
- Add all remaining ingredients and whisk until pale and fluffy.
- Spoon into cases—just over halfway full.
- Bake for 12–14 minutes, until risen and springy.
- Cool on a wire rack.
- Spread with chocolate spread once cool.
Notes
- I always chill the chocolate spread for 10 minutes before icing—it spreads better that way.
- If using Nutella, warm it ever so slightly for a smoother finish.
- My fan oven runs hot—I pull them at 12 minutes, tops.
- I keep a baking-only teaspoon for filling tiny cases—less mess, more even cupcakes.